BLUF: A fish tape turns a frustrating job into an easy morning’s work.
LuLu is a really good friend of mine and when she asked me to help her fix her television cable I couldn’t help but agree. Why the reluctance you ask? Because I just knew that we were going to end up having to pull in a new cable and boy is that a pain. But then again so is seeing a pout overtake this smile.

So despite the early hour last Sunday morning we started troubleshooting the source of the problem. We were able to confirm that the cable from the dock was functional simply by taking the TV outside and plugging it in directly to the source cable. We conducted the same test at various locations in the system.
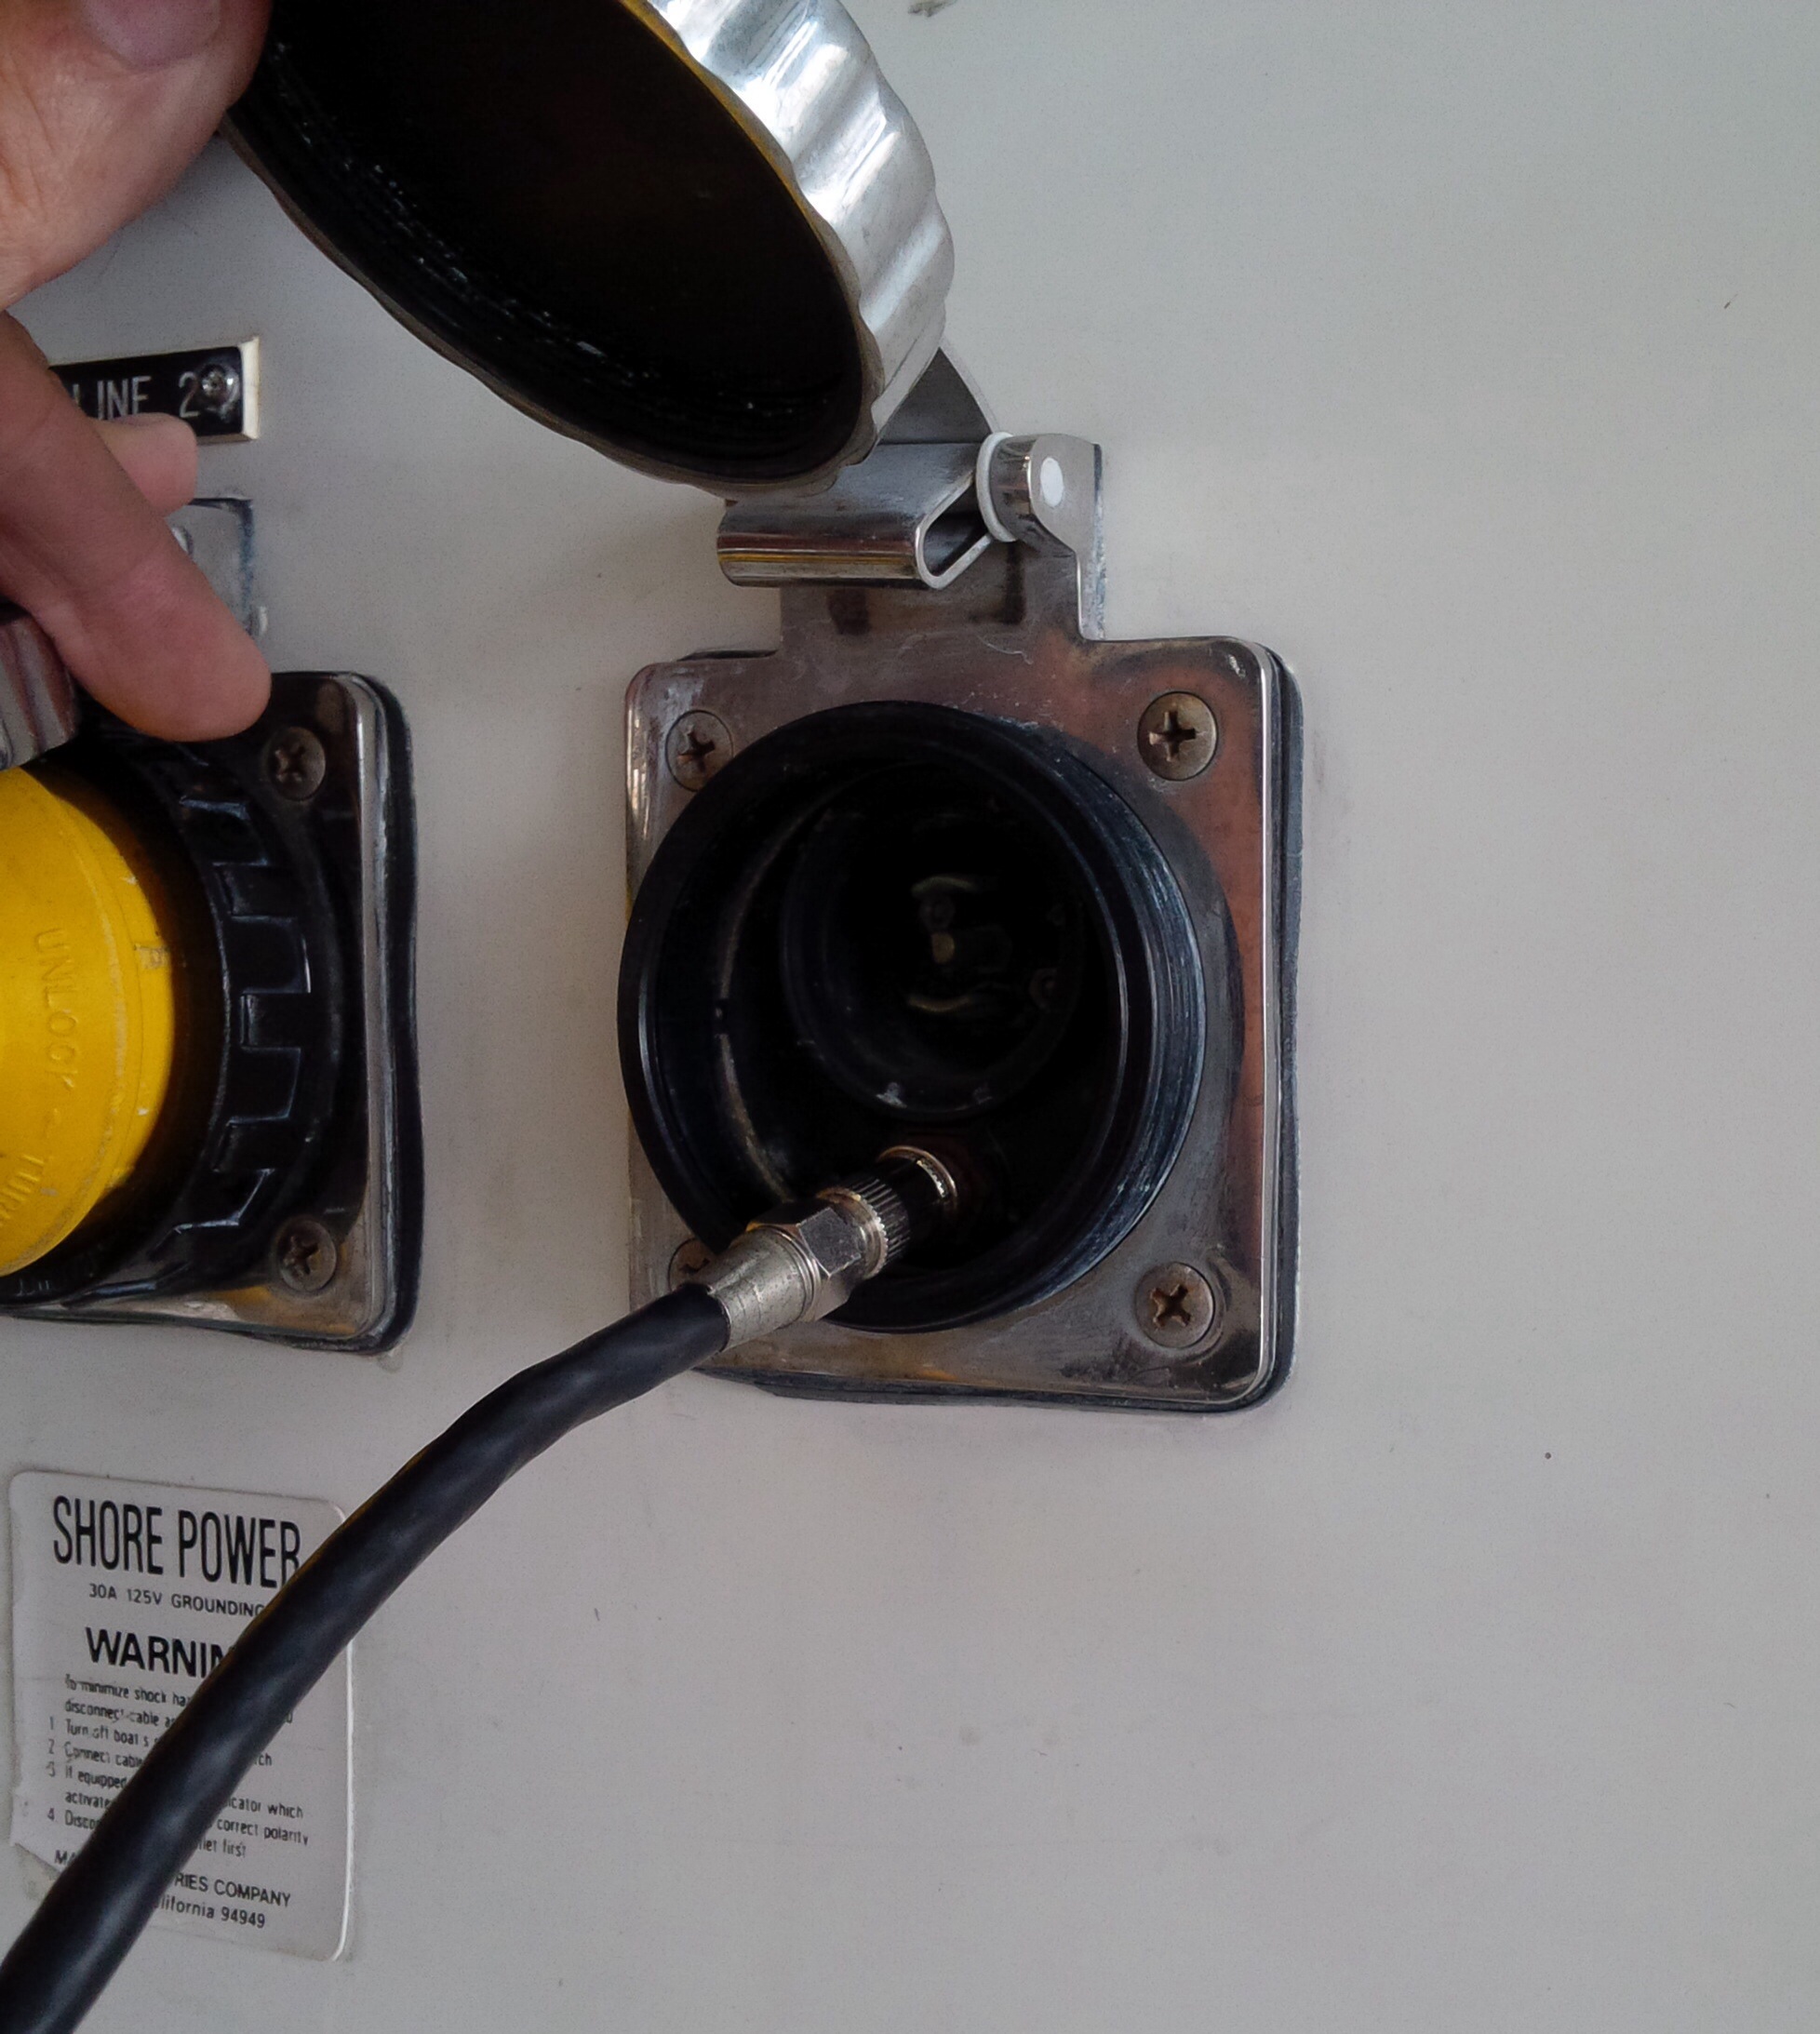
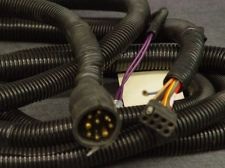
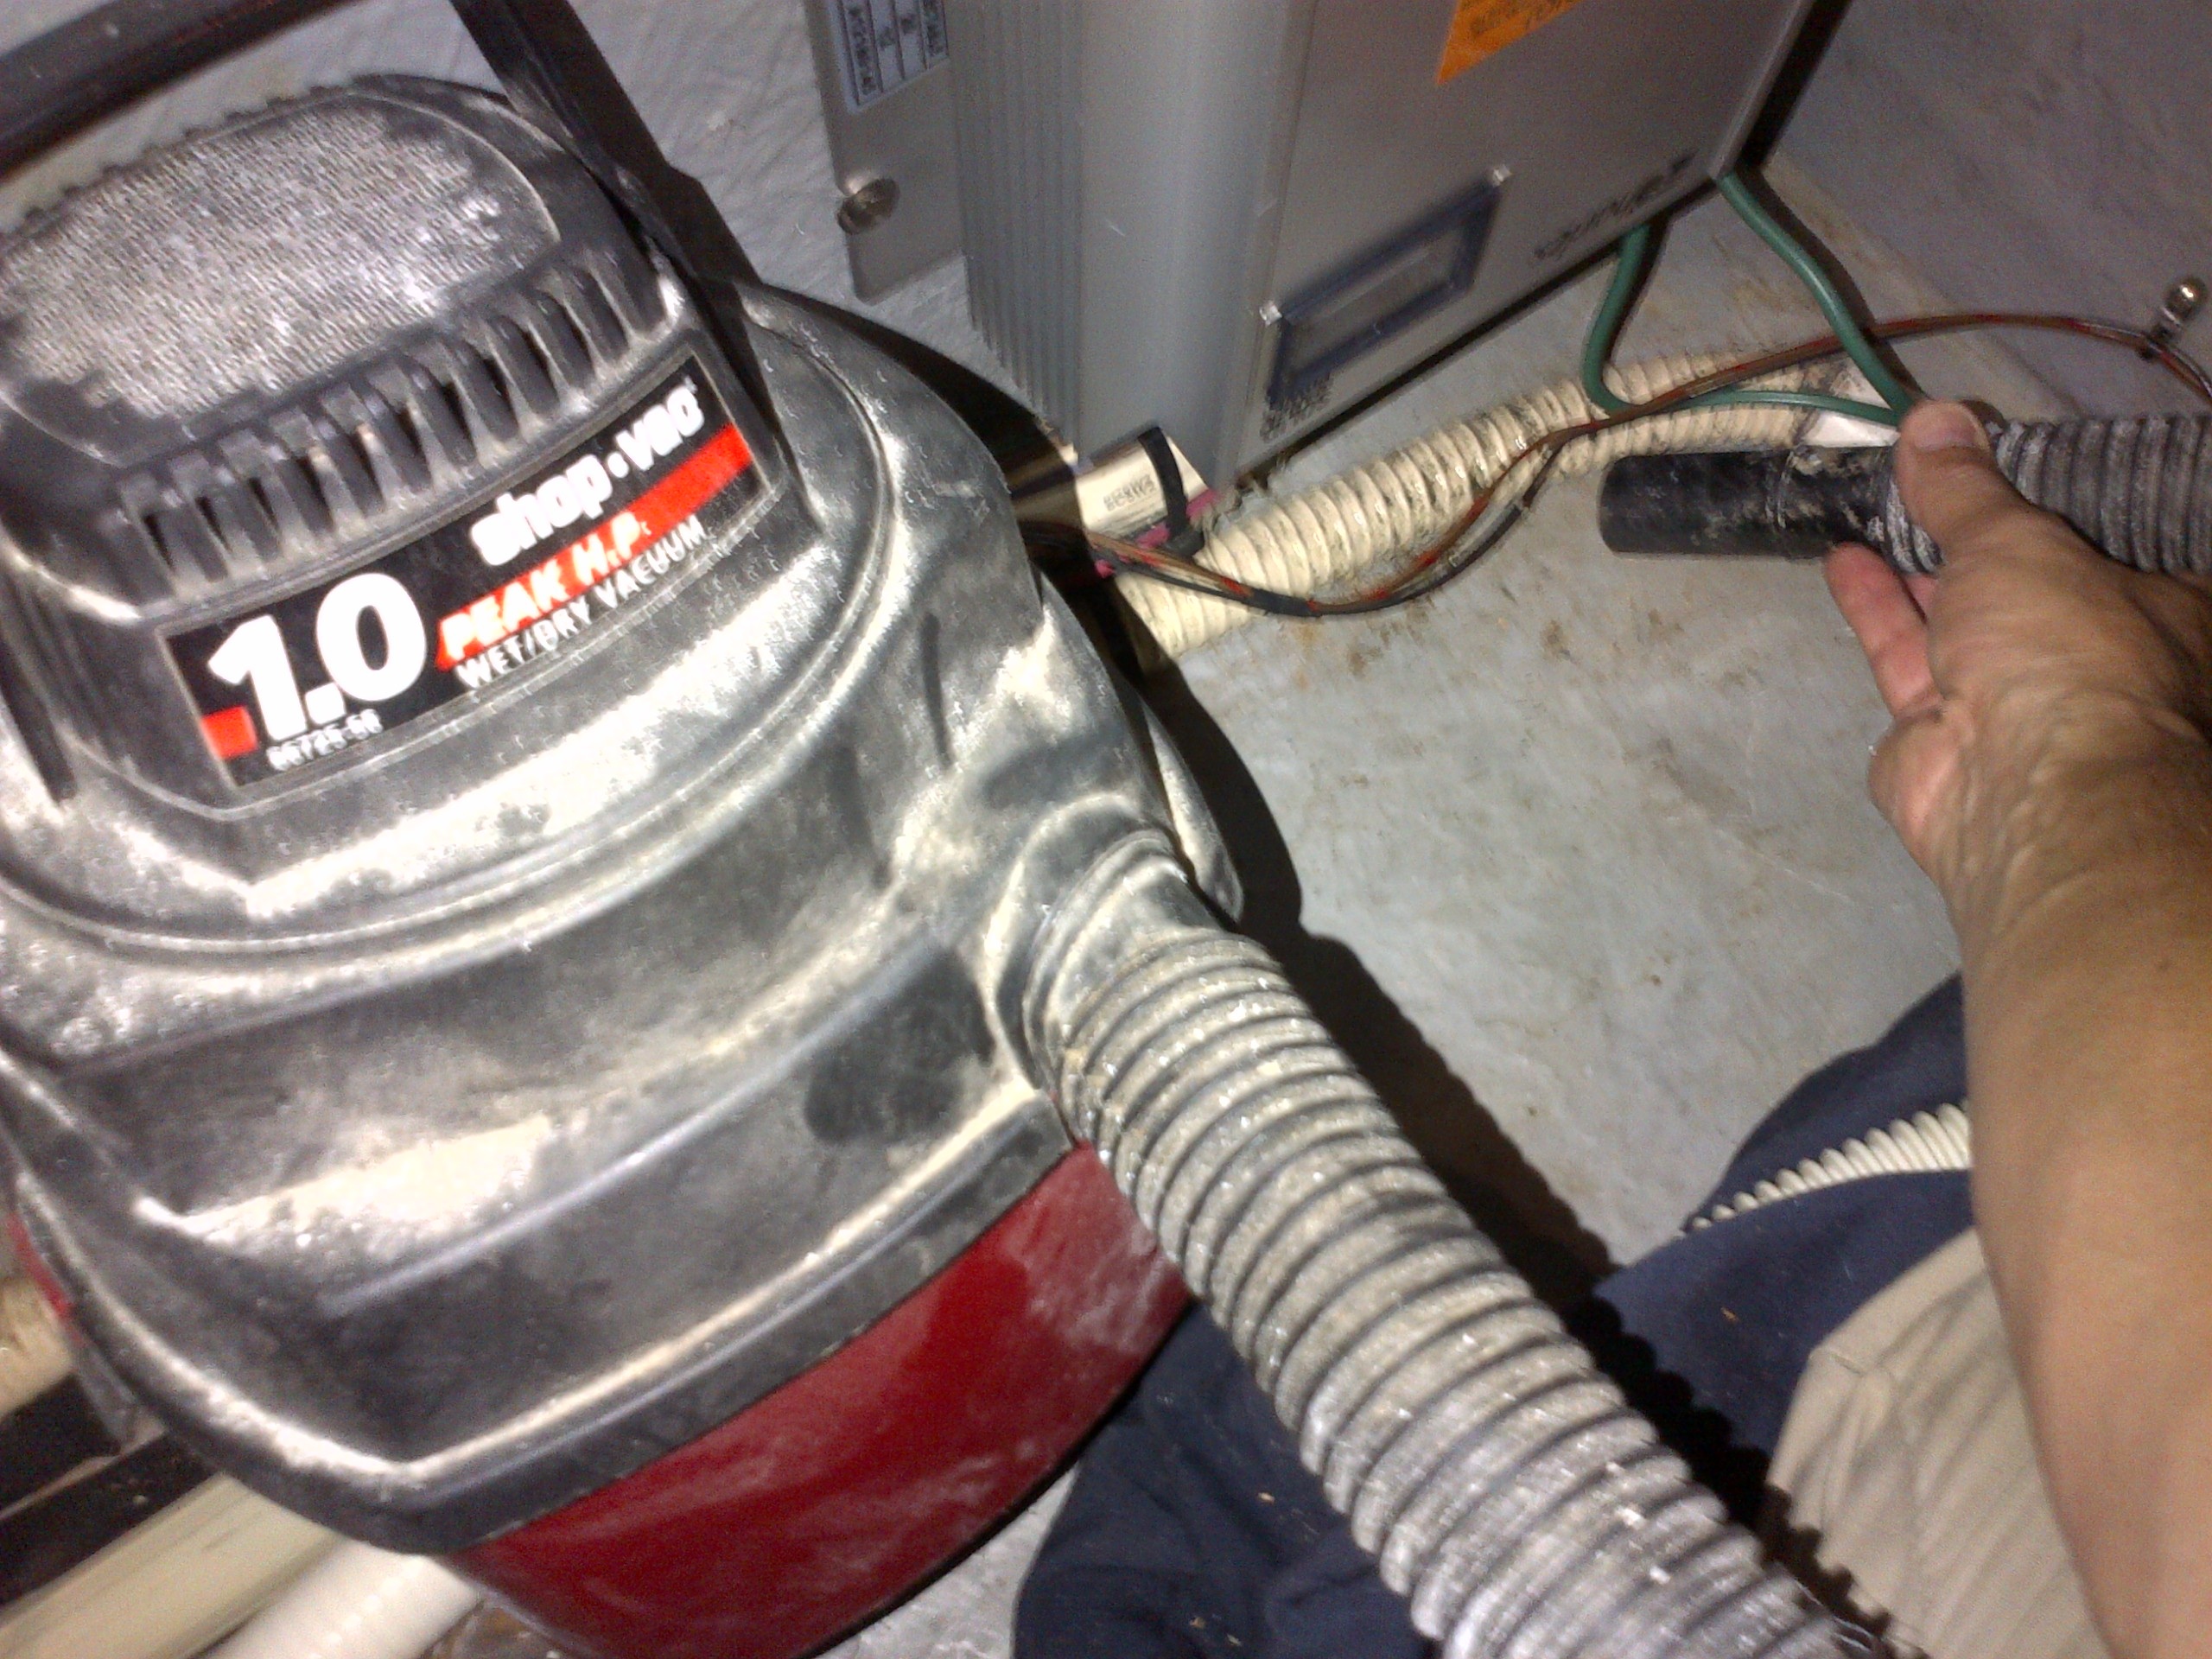
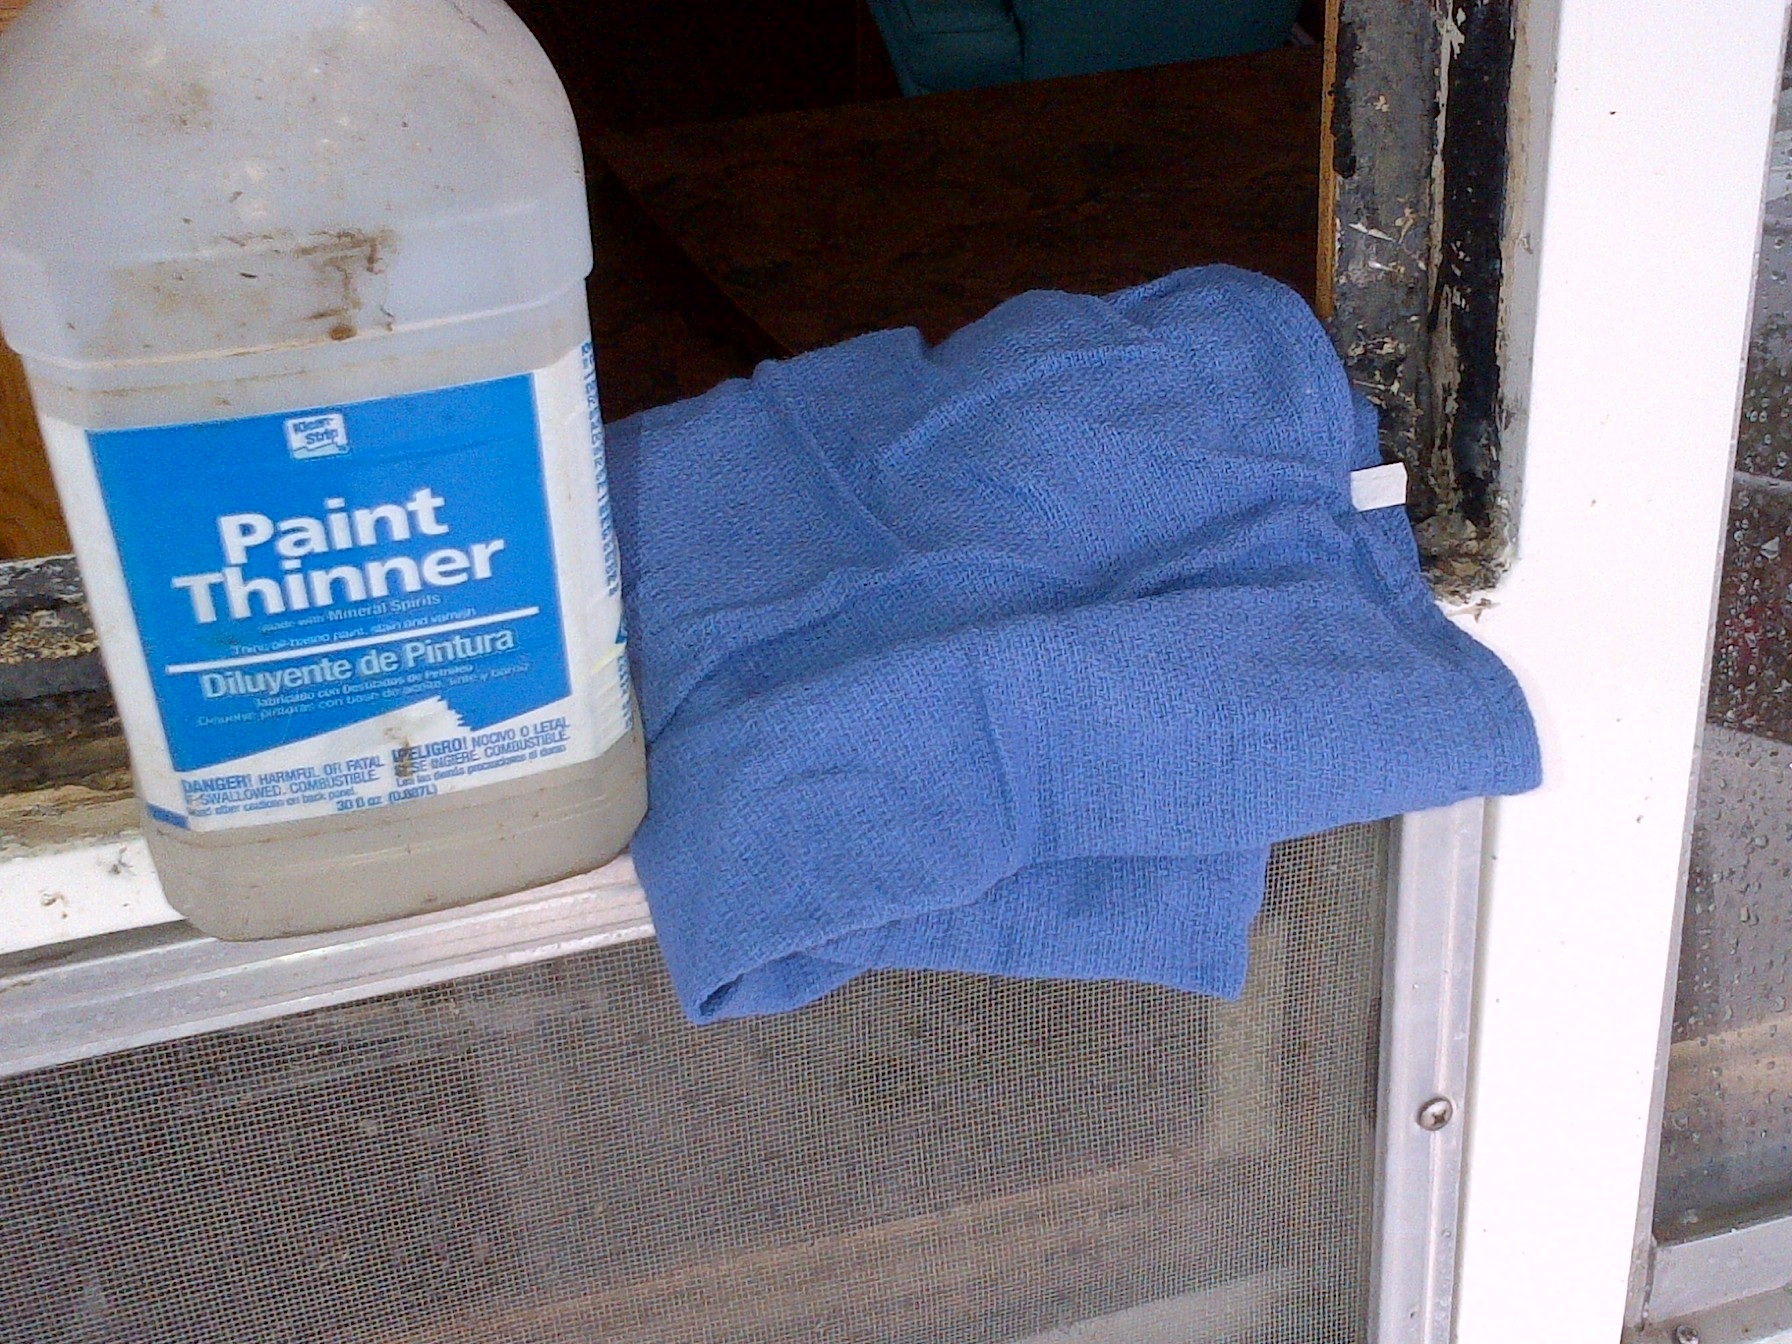
Cable Input
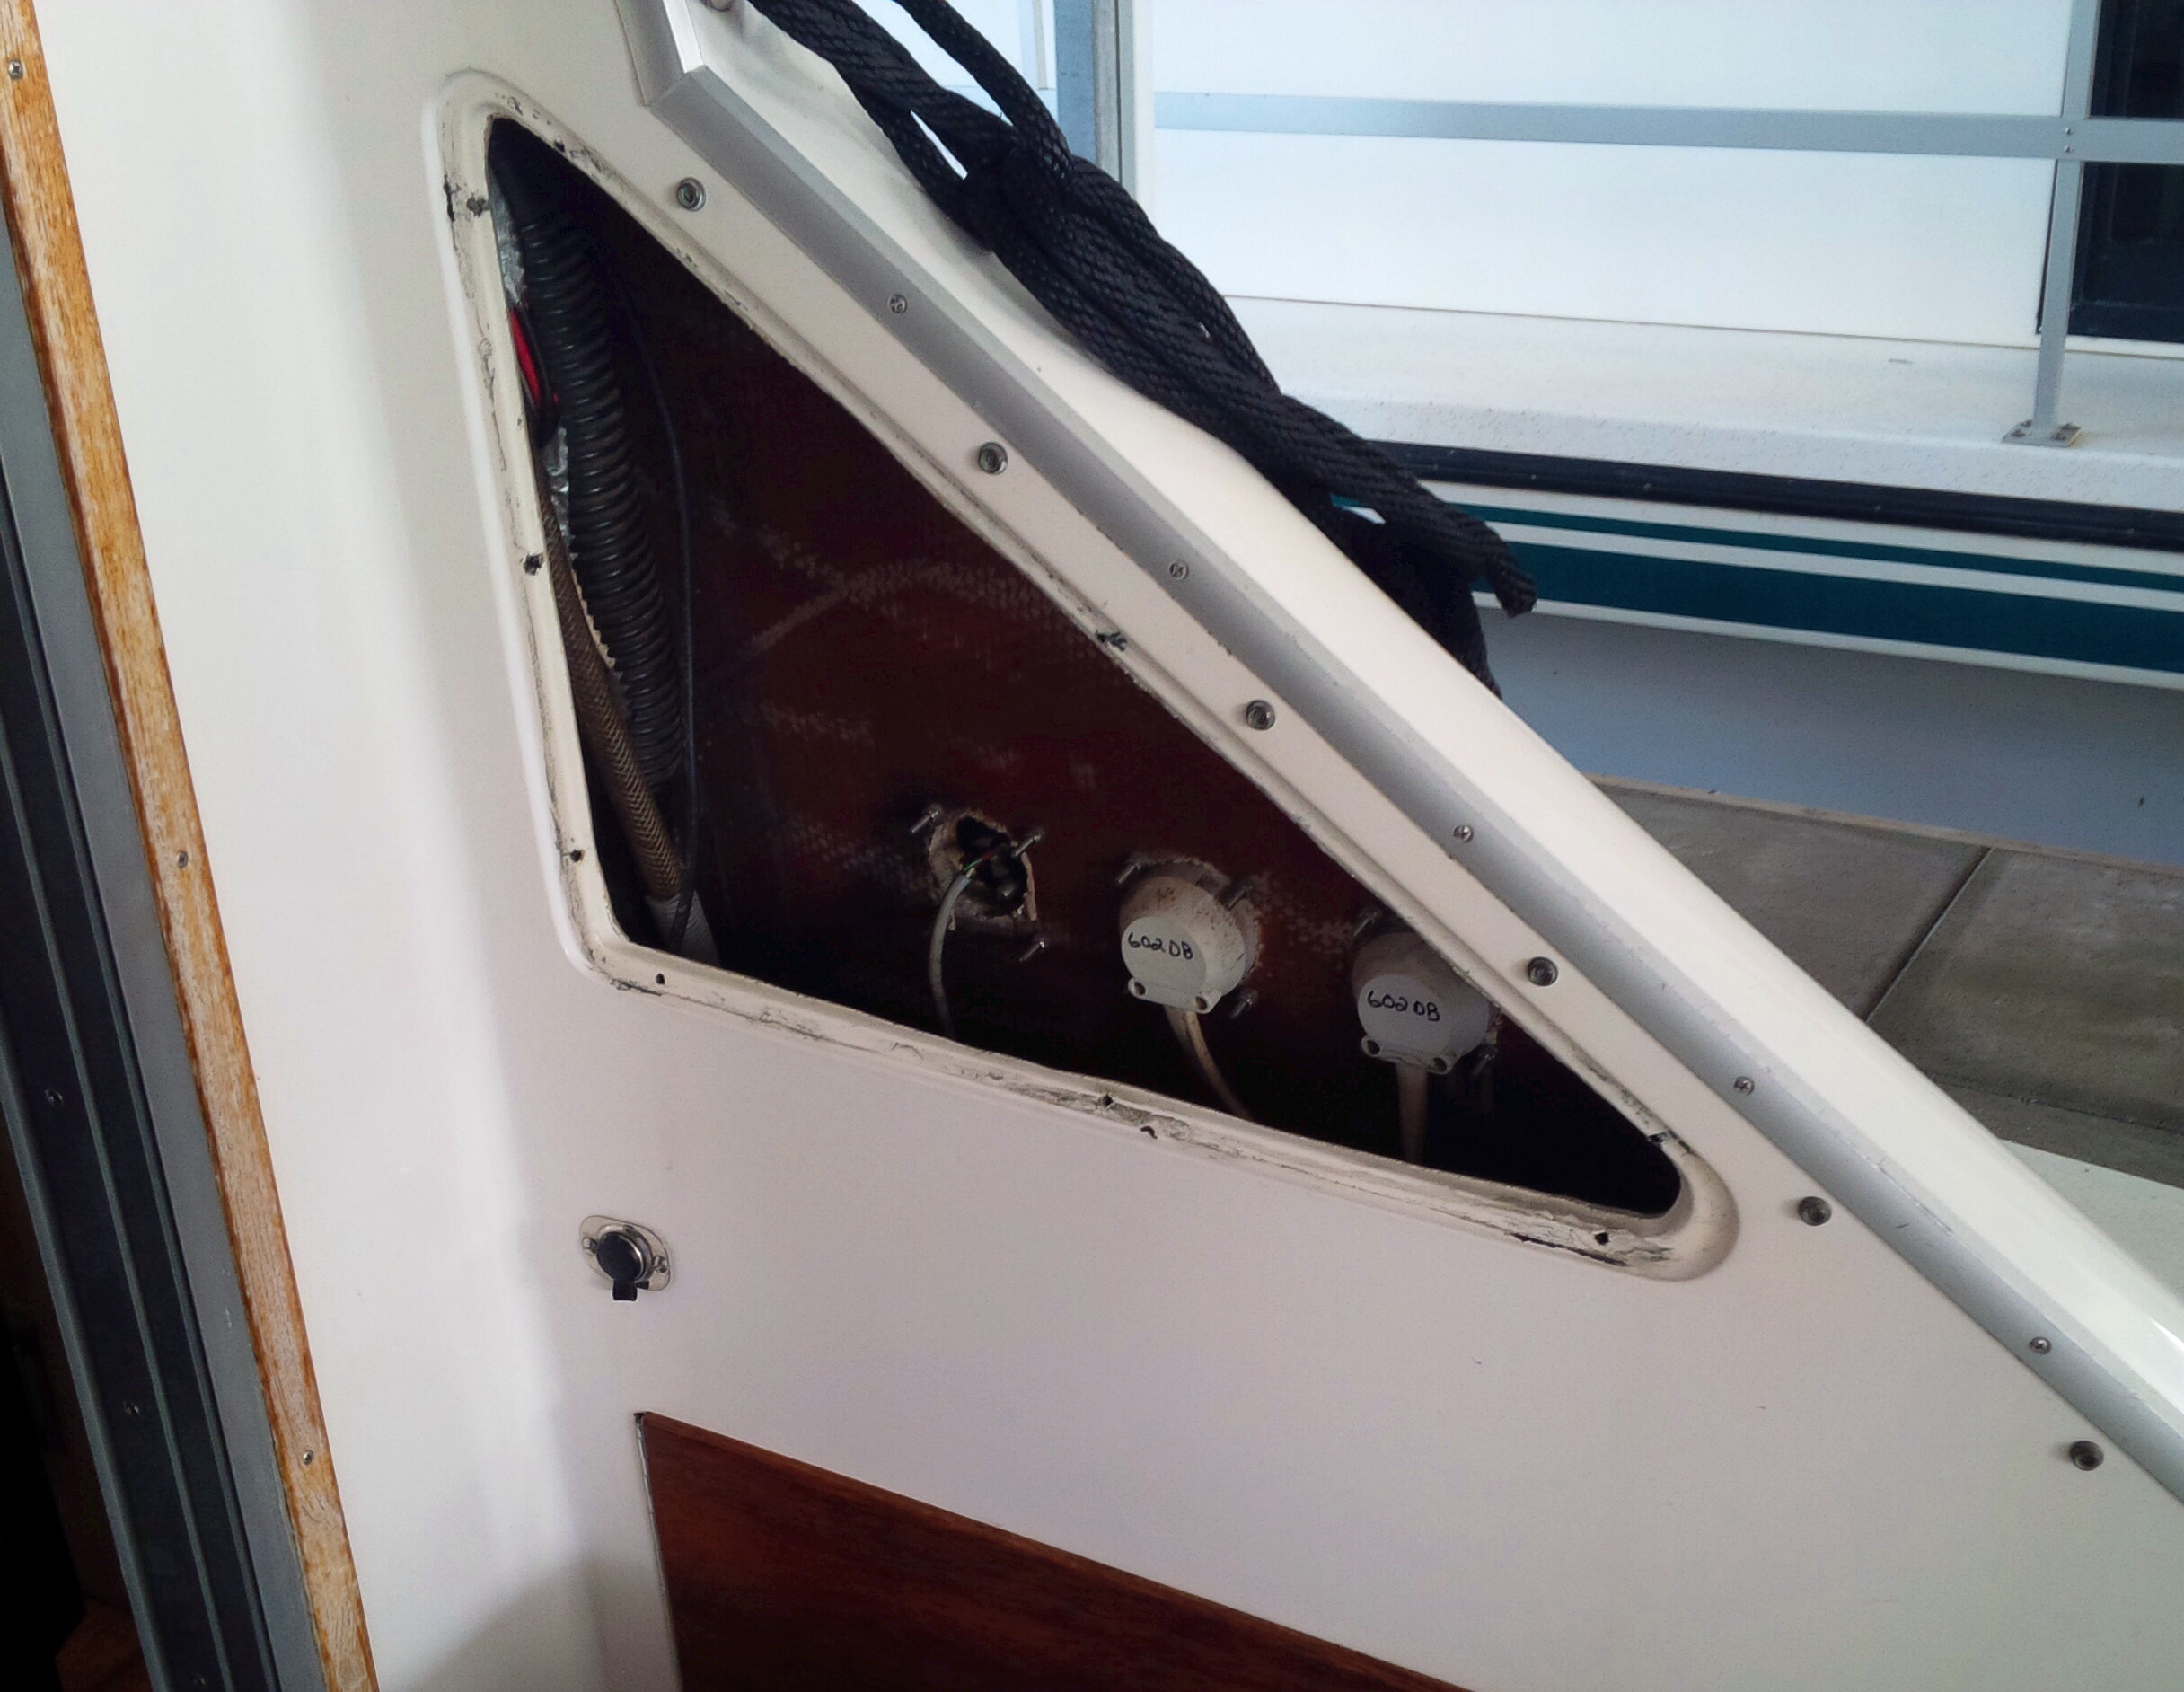
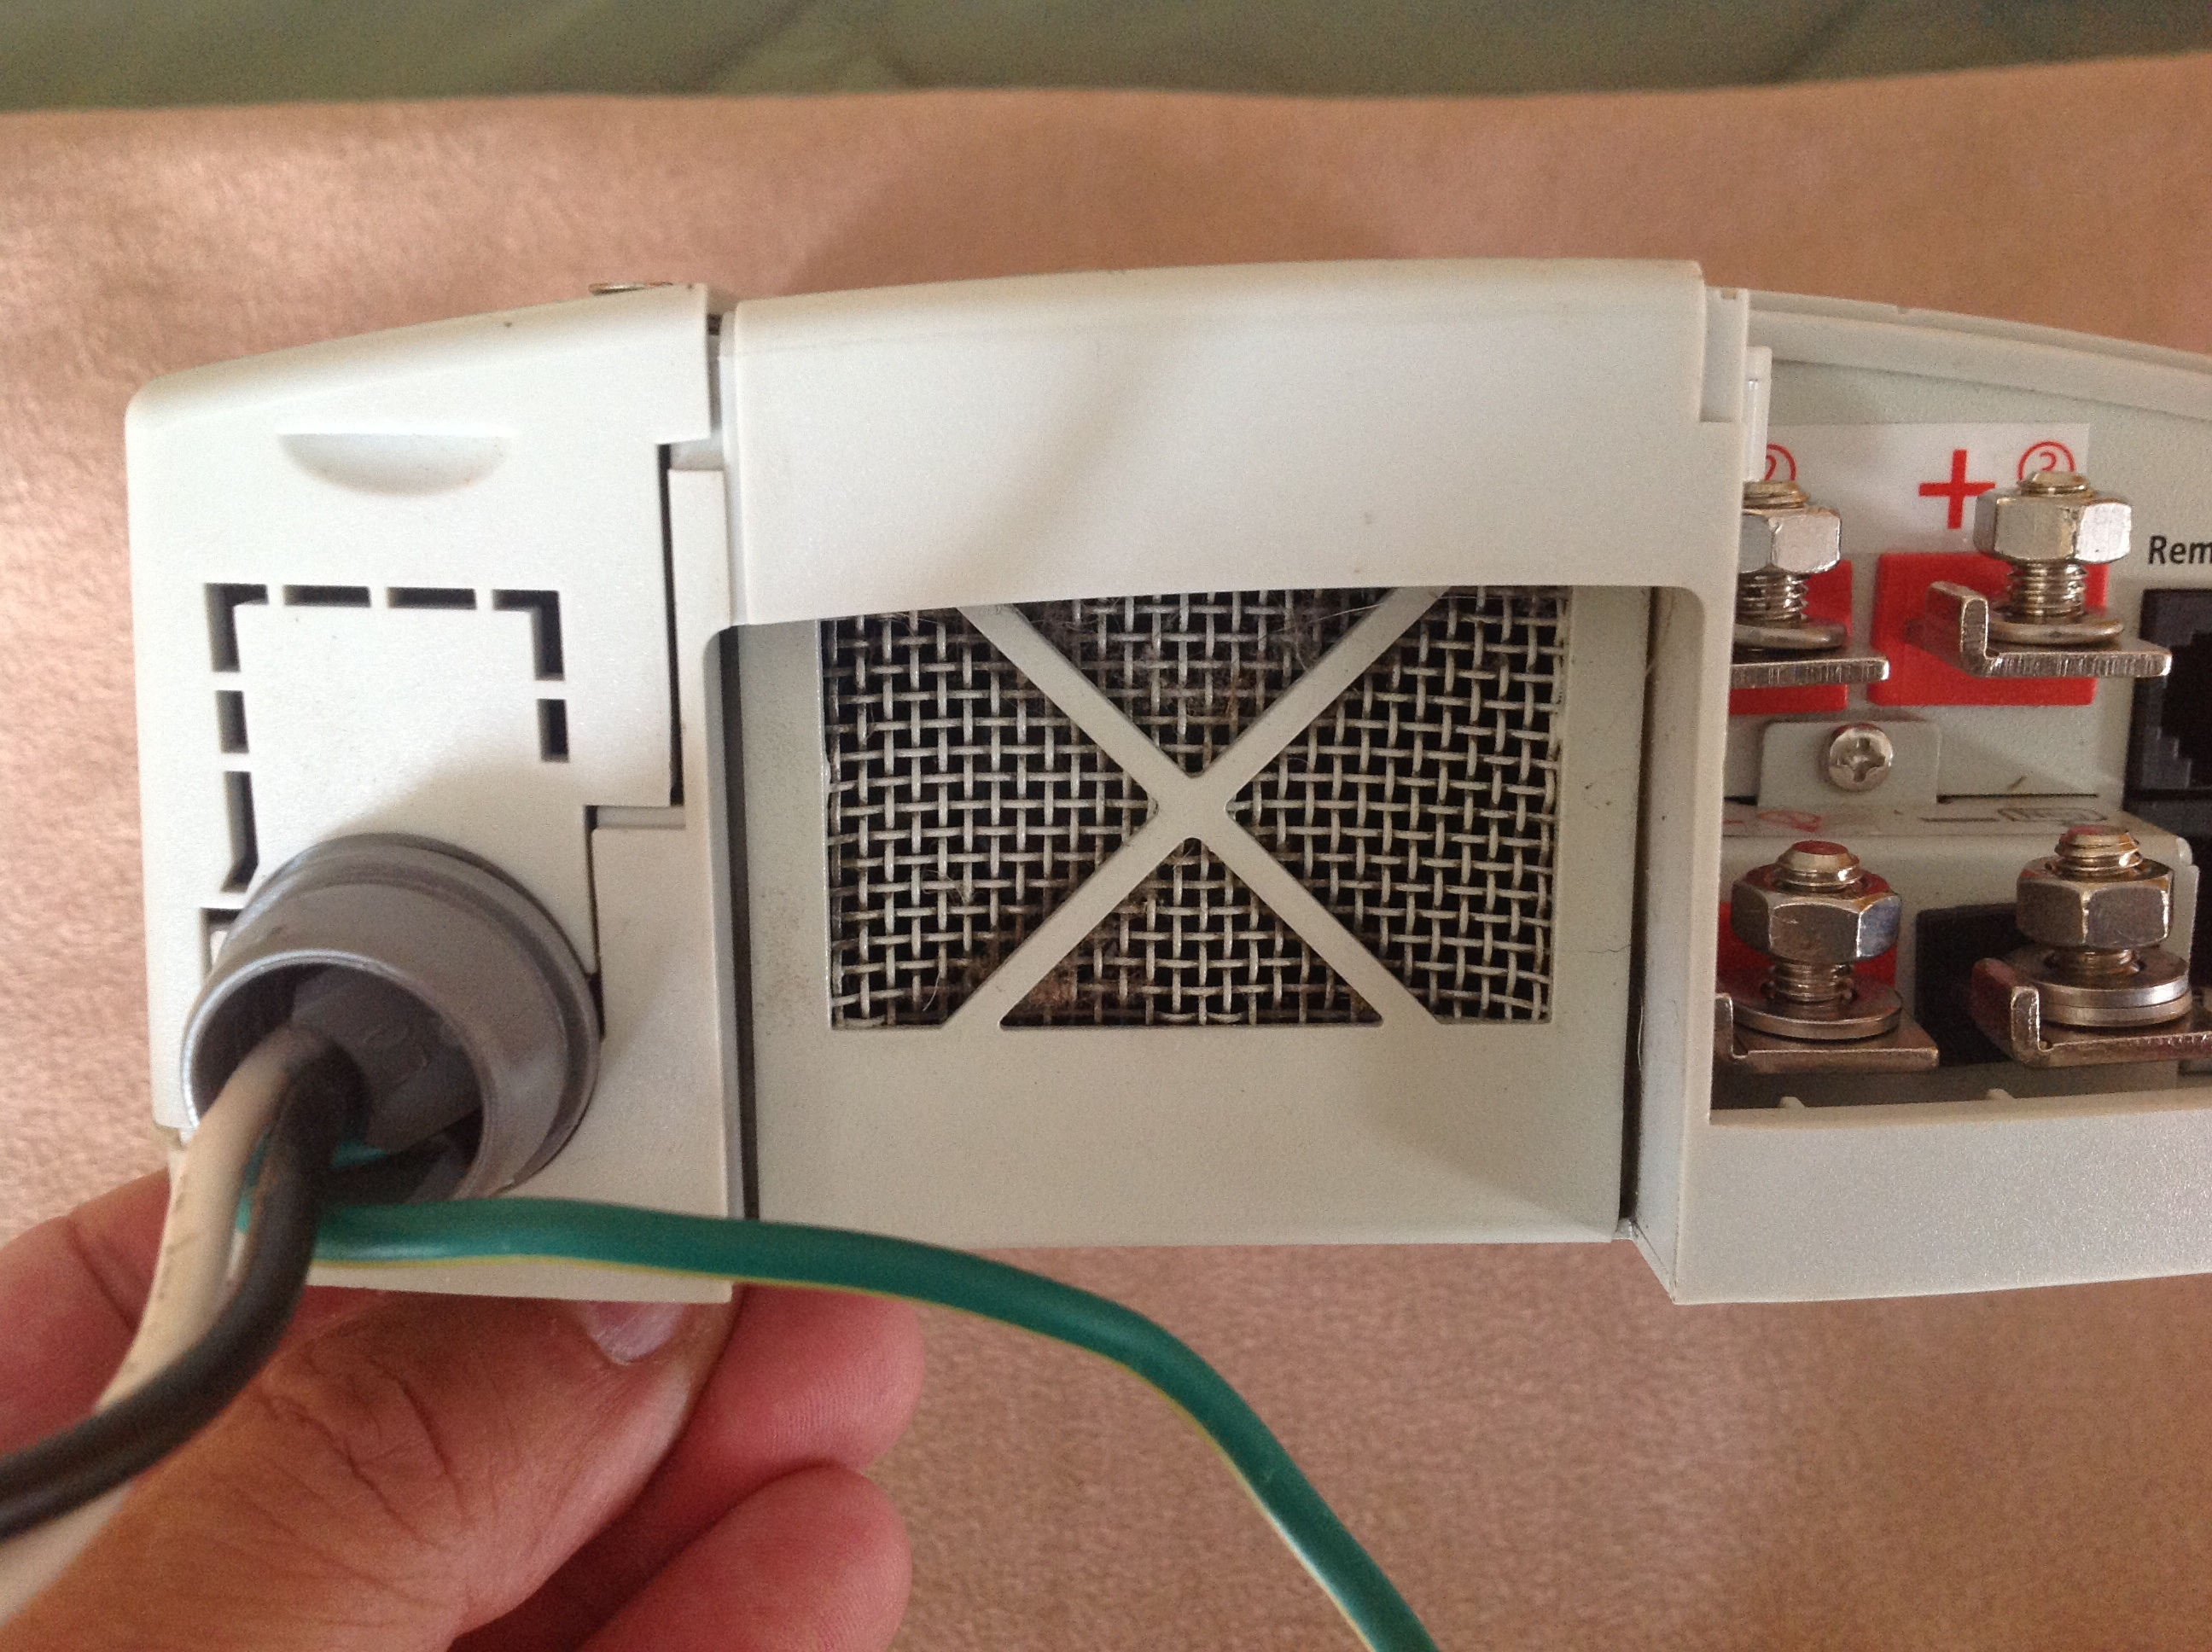
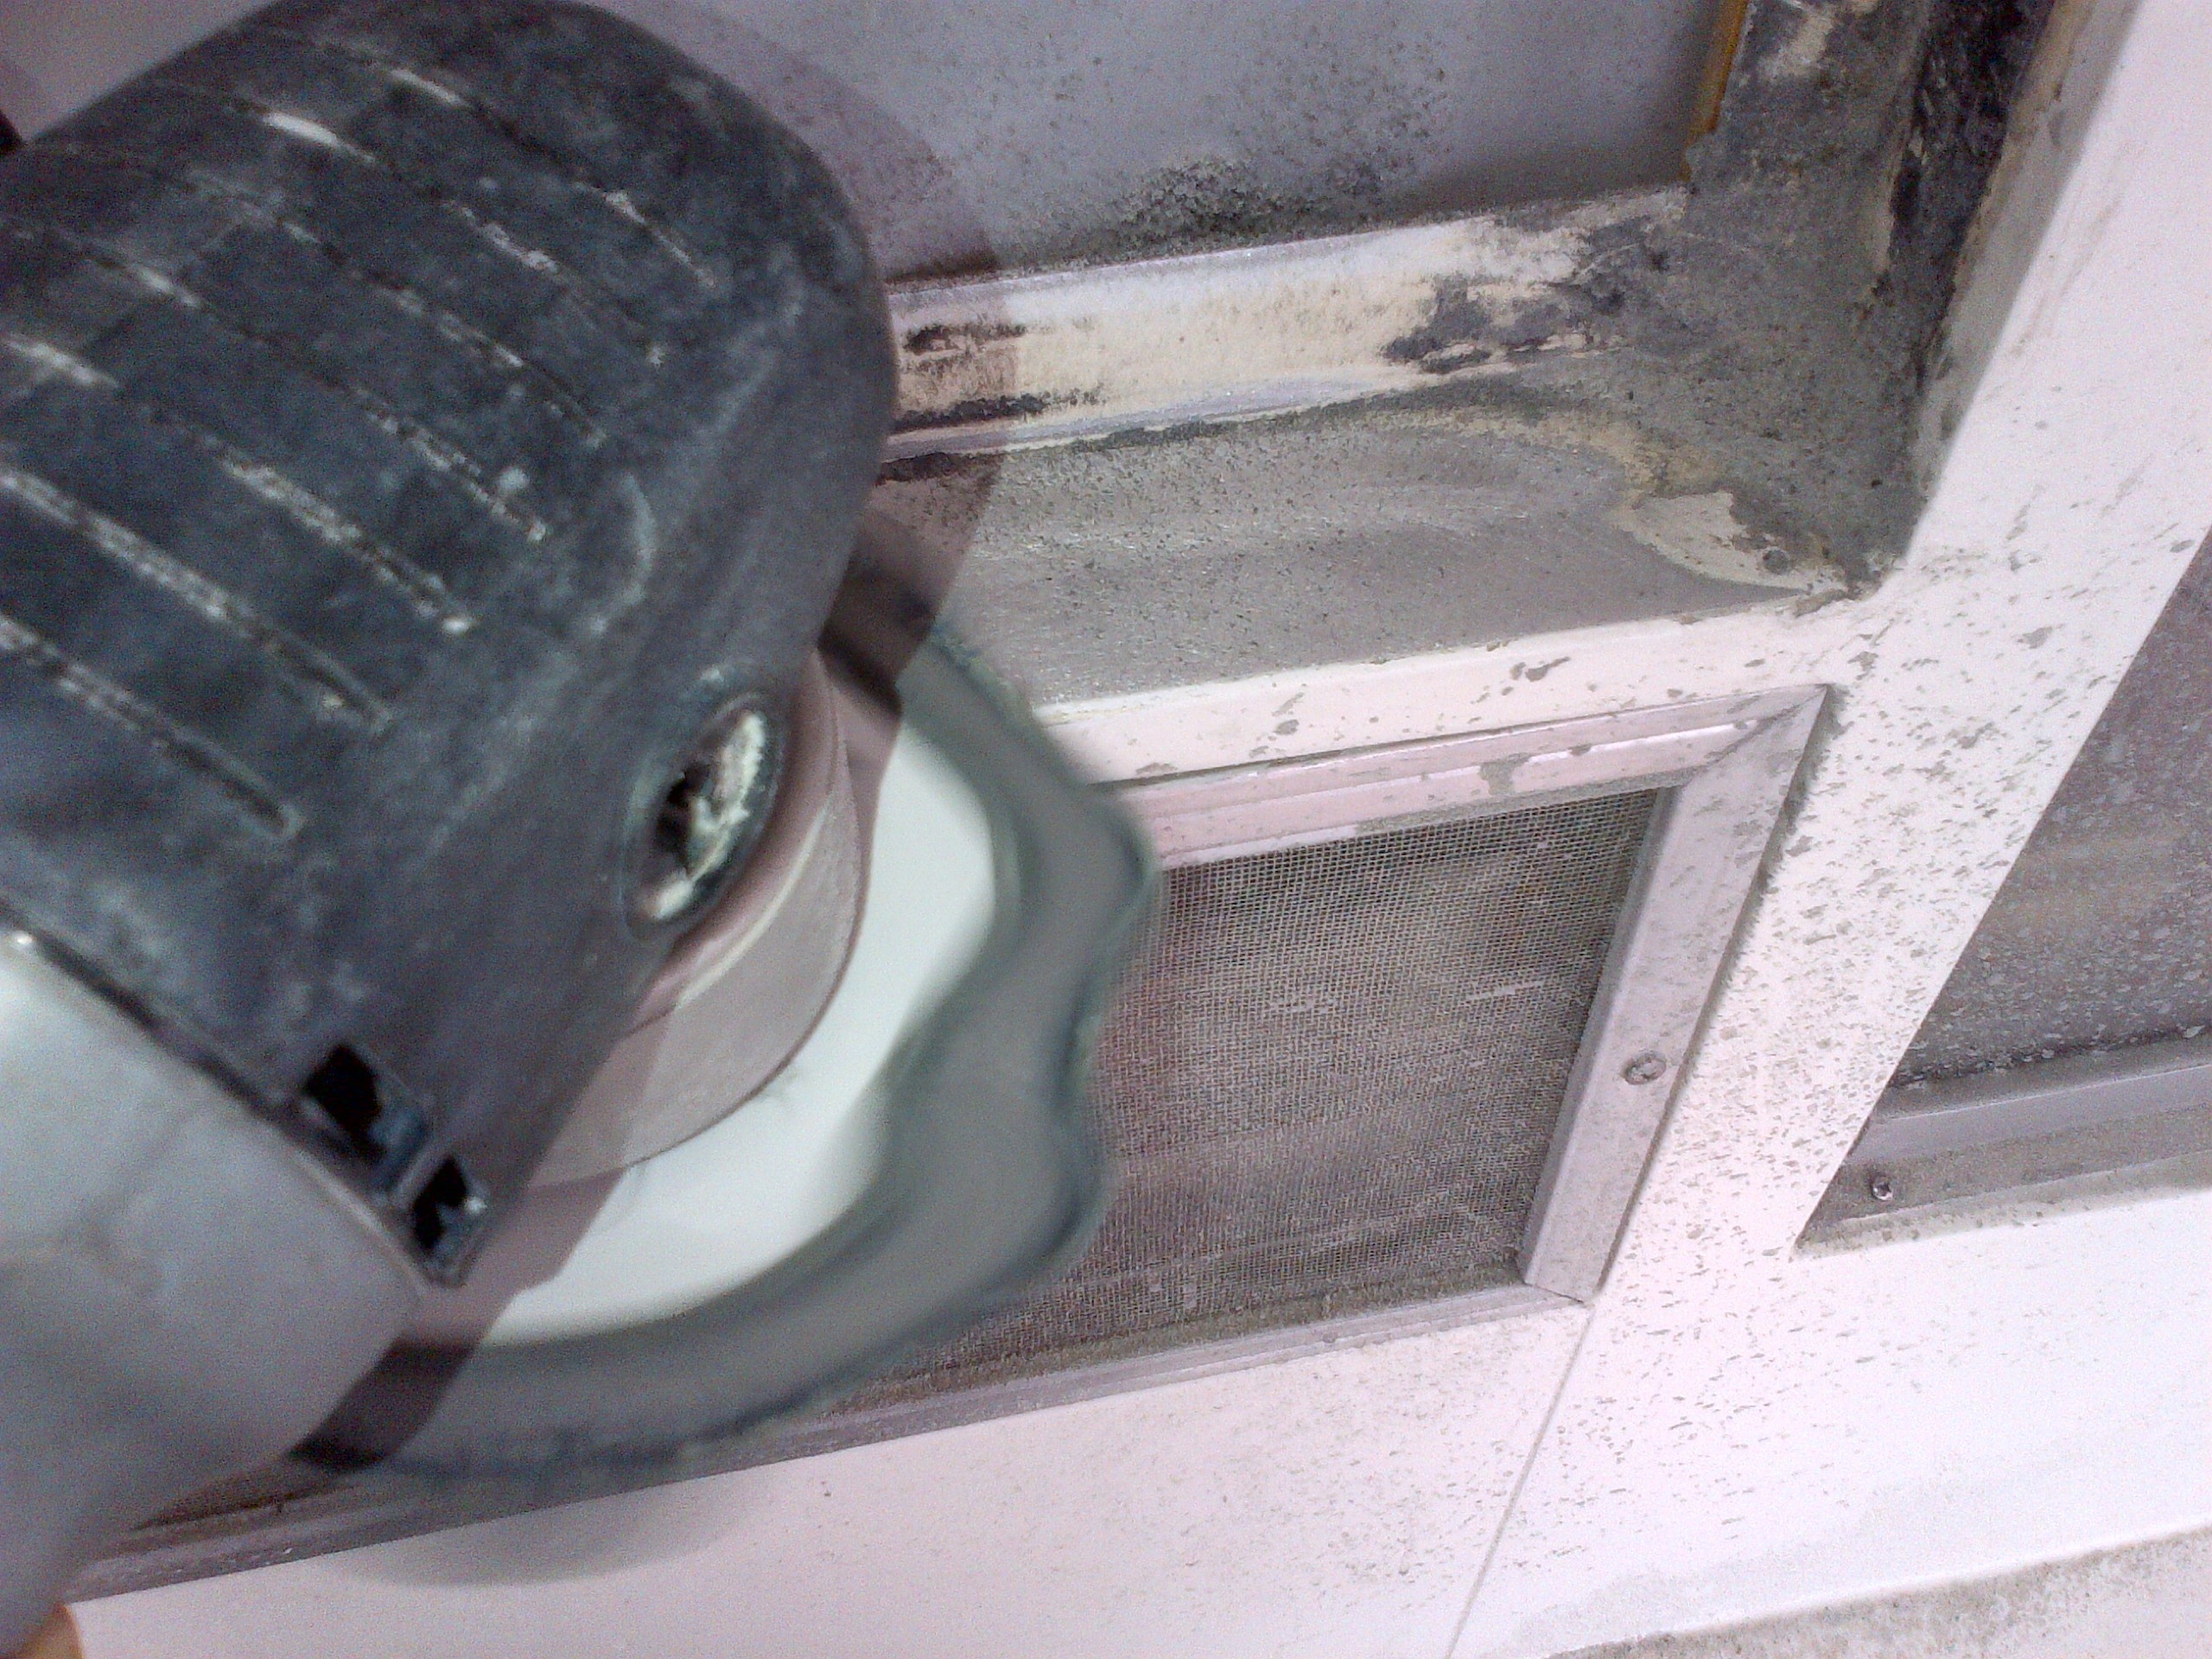
Back Side of Cable Inlet
We confirmed that the cable inlet was functioning which was a relief as they are expensive. We also tested each of the cables and splitter fittings in the system and boiled the source of the problem down to the cable that runs from the inlet up through the wall to the front of the boat. Oh well. My initial guess was correct. But as you can see Molly is not impressed:
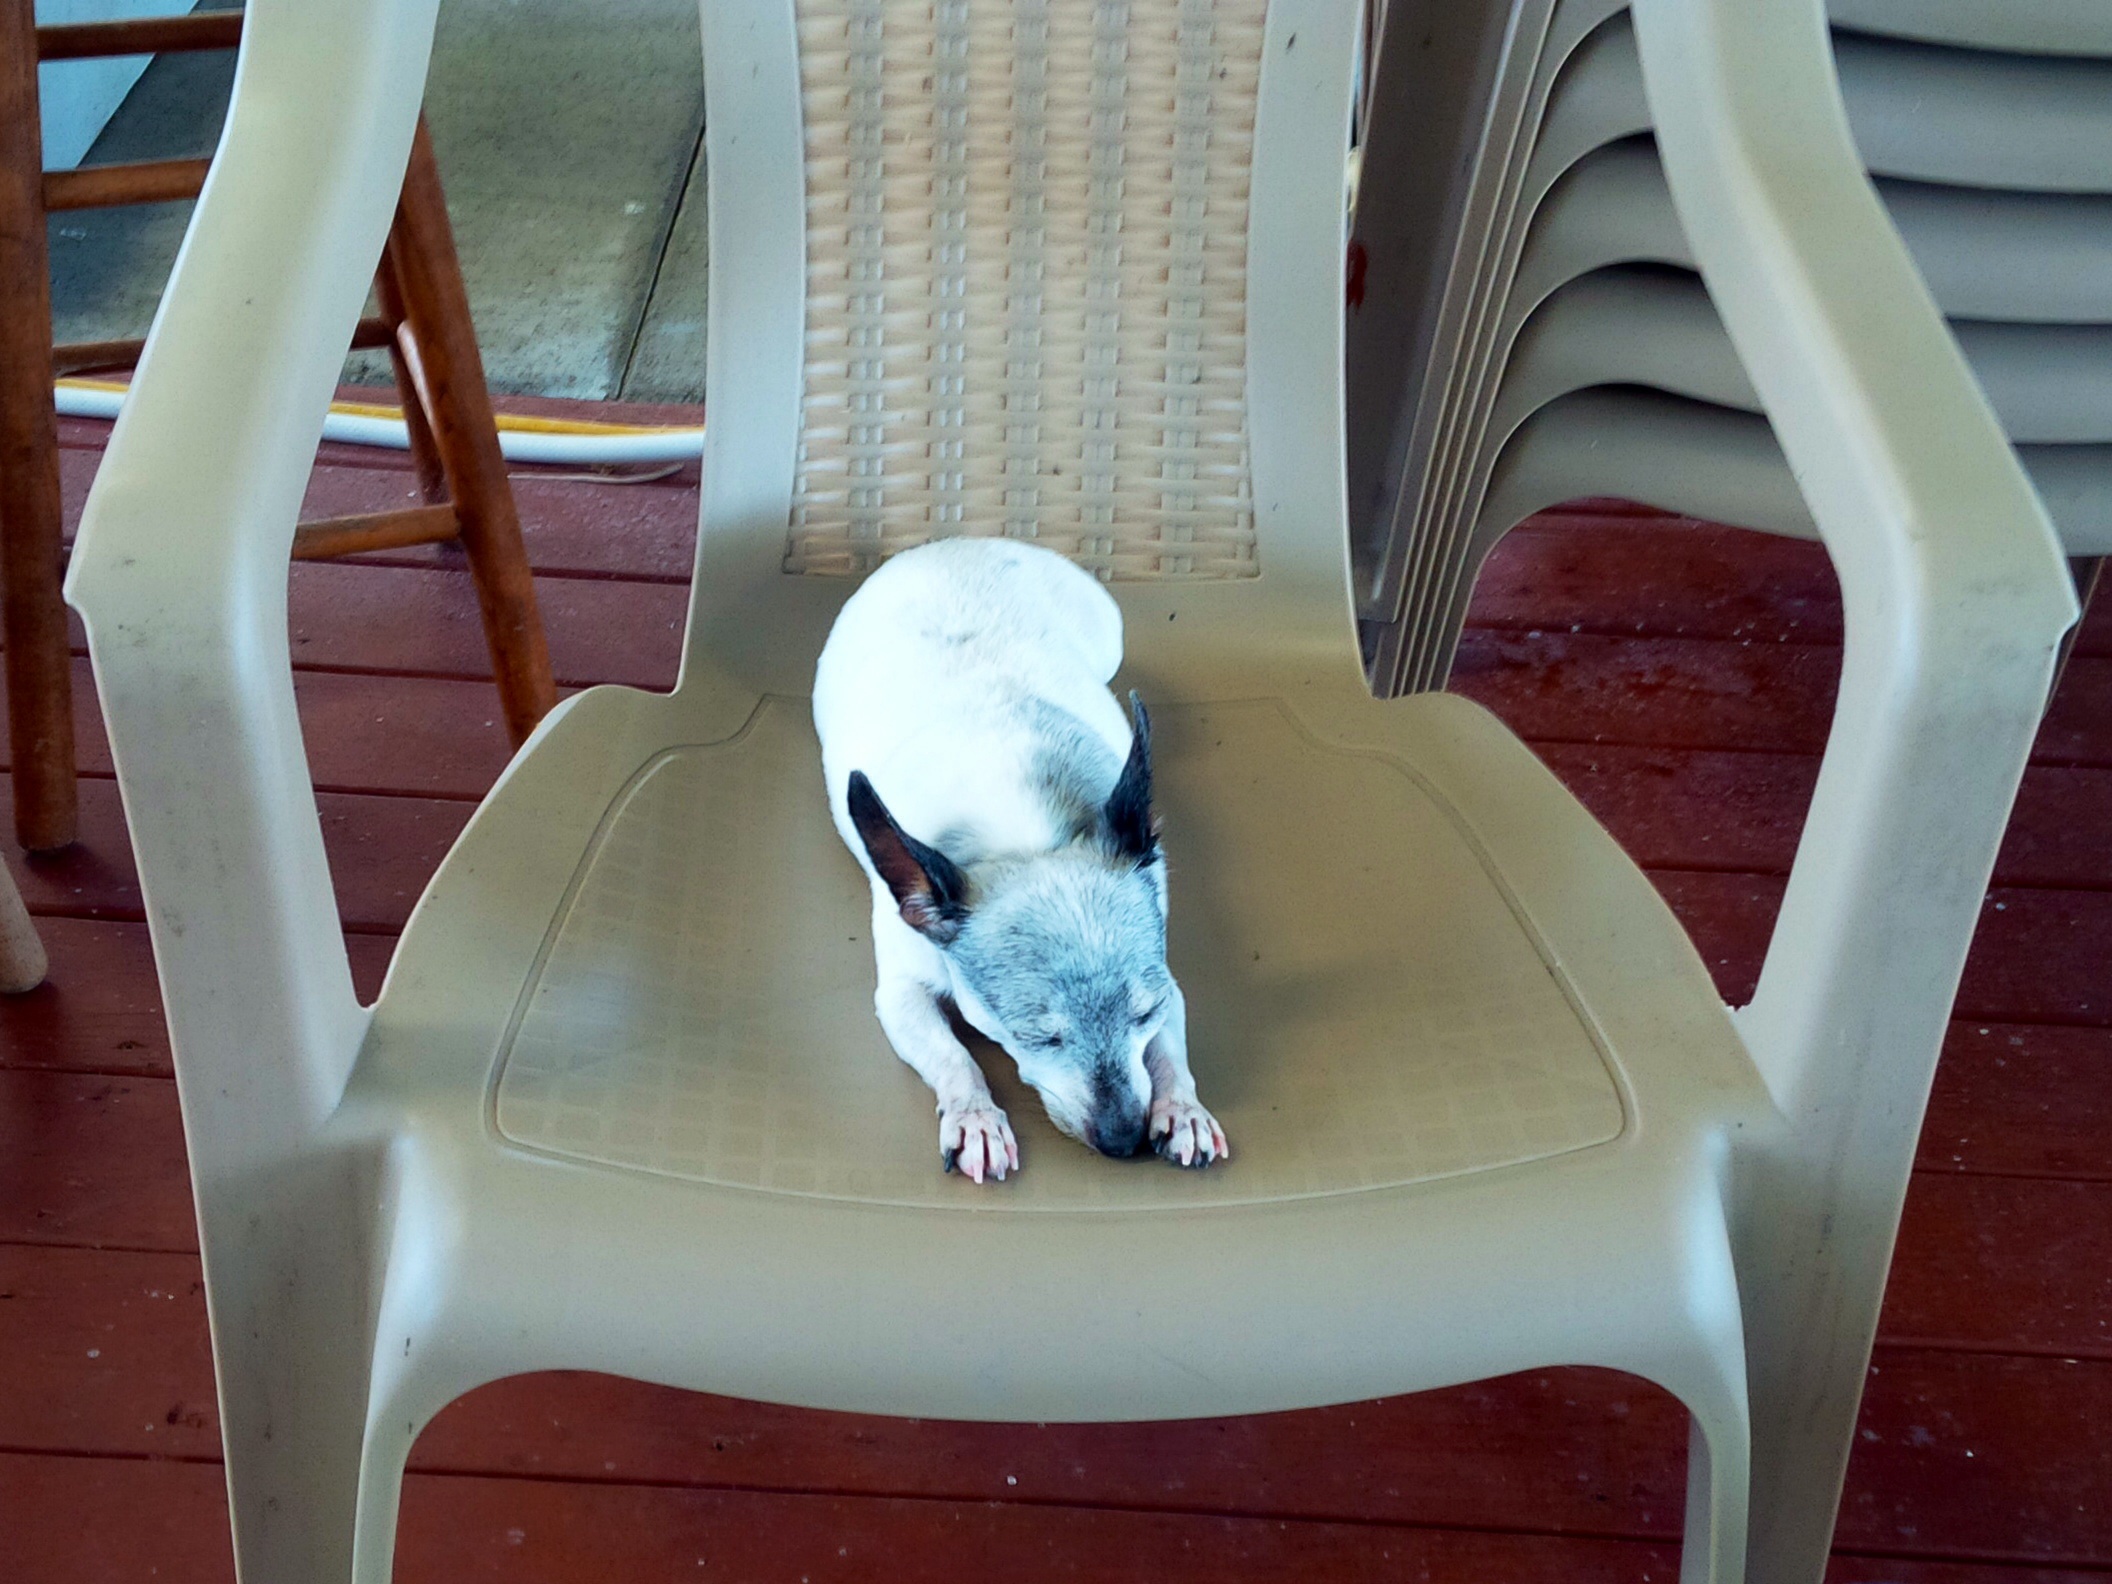
Molly Naps While We Work.
LuLu made a trip to Home Depot and purchased the best quality TV cable available. Hey if you are going to do it, do it right.
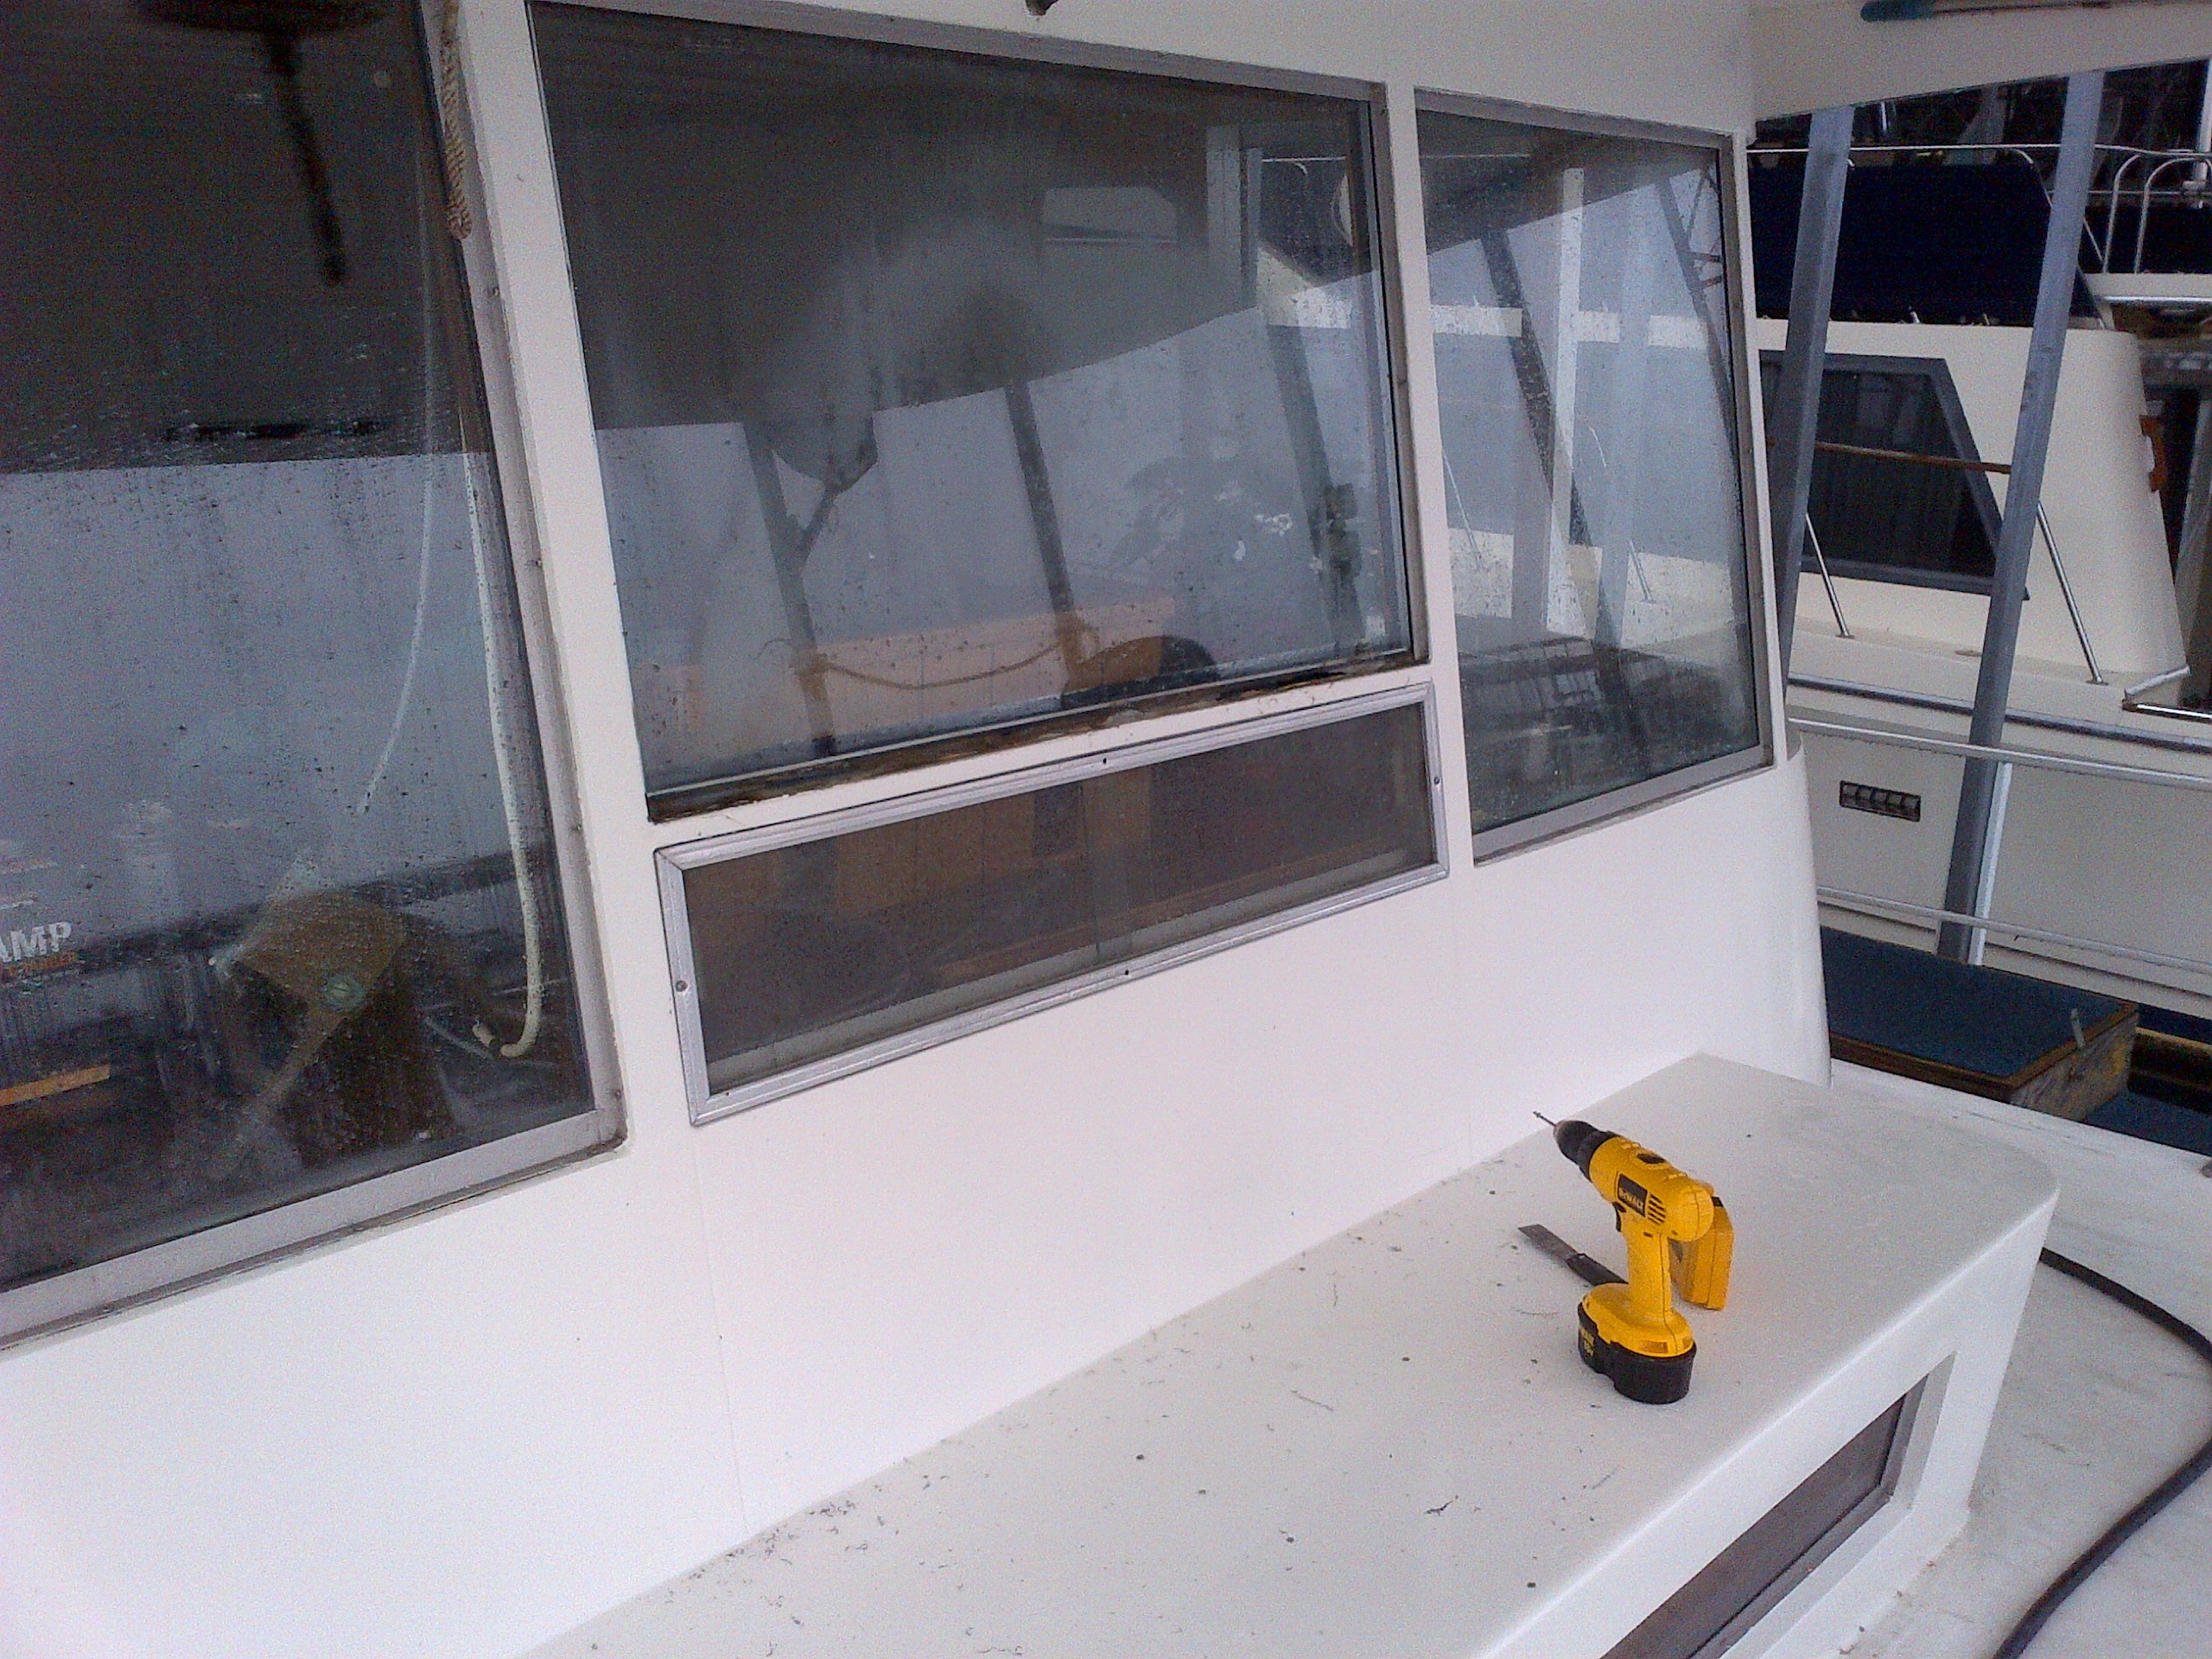
LuLu jumped right into it and started taking the access panels off to see how we would go about routing the cable.
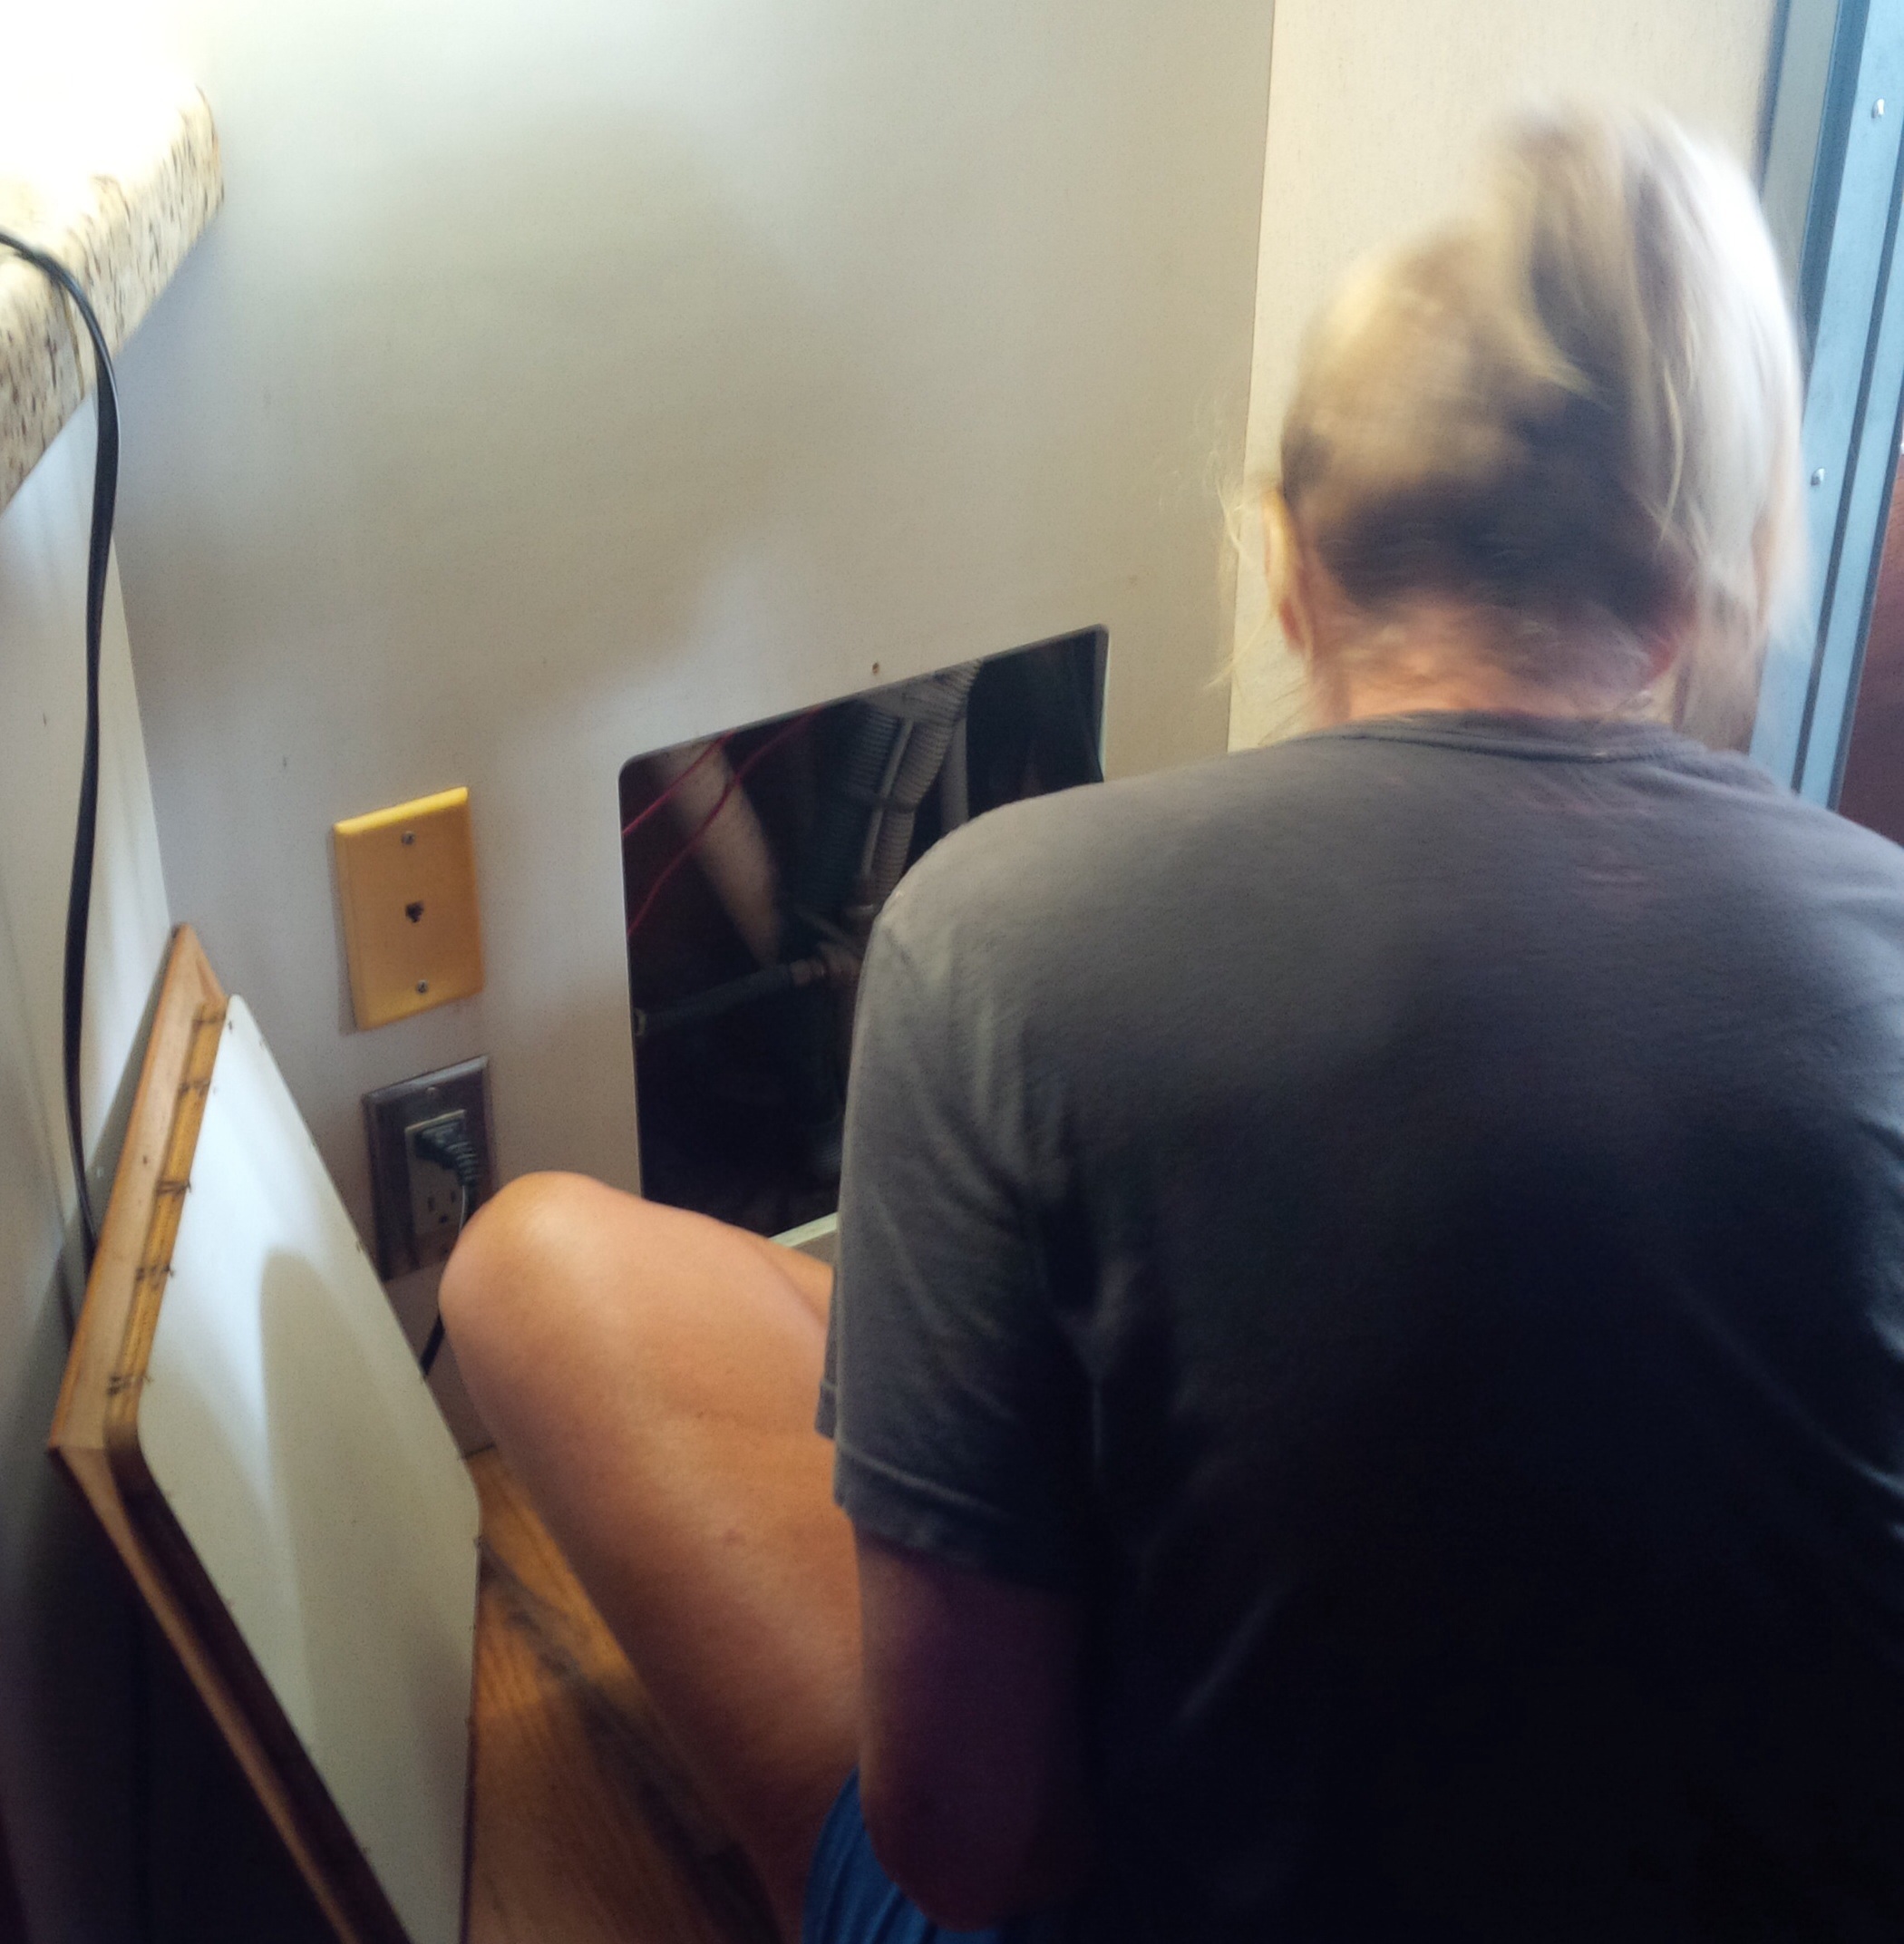
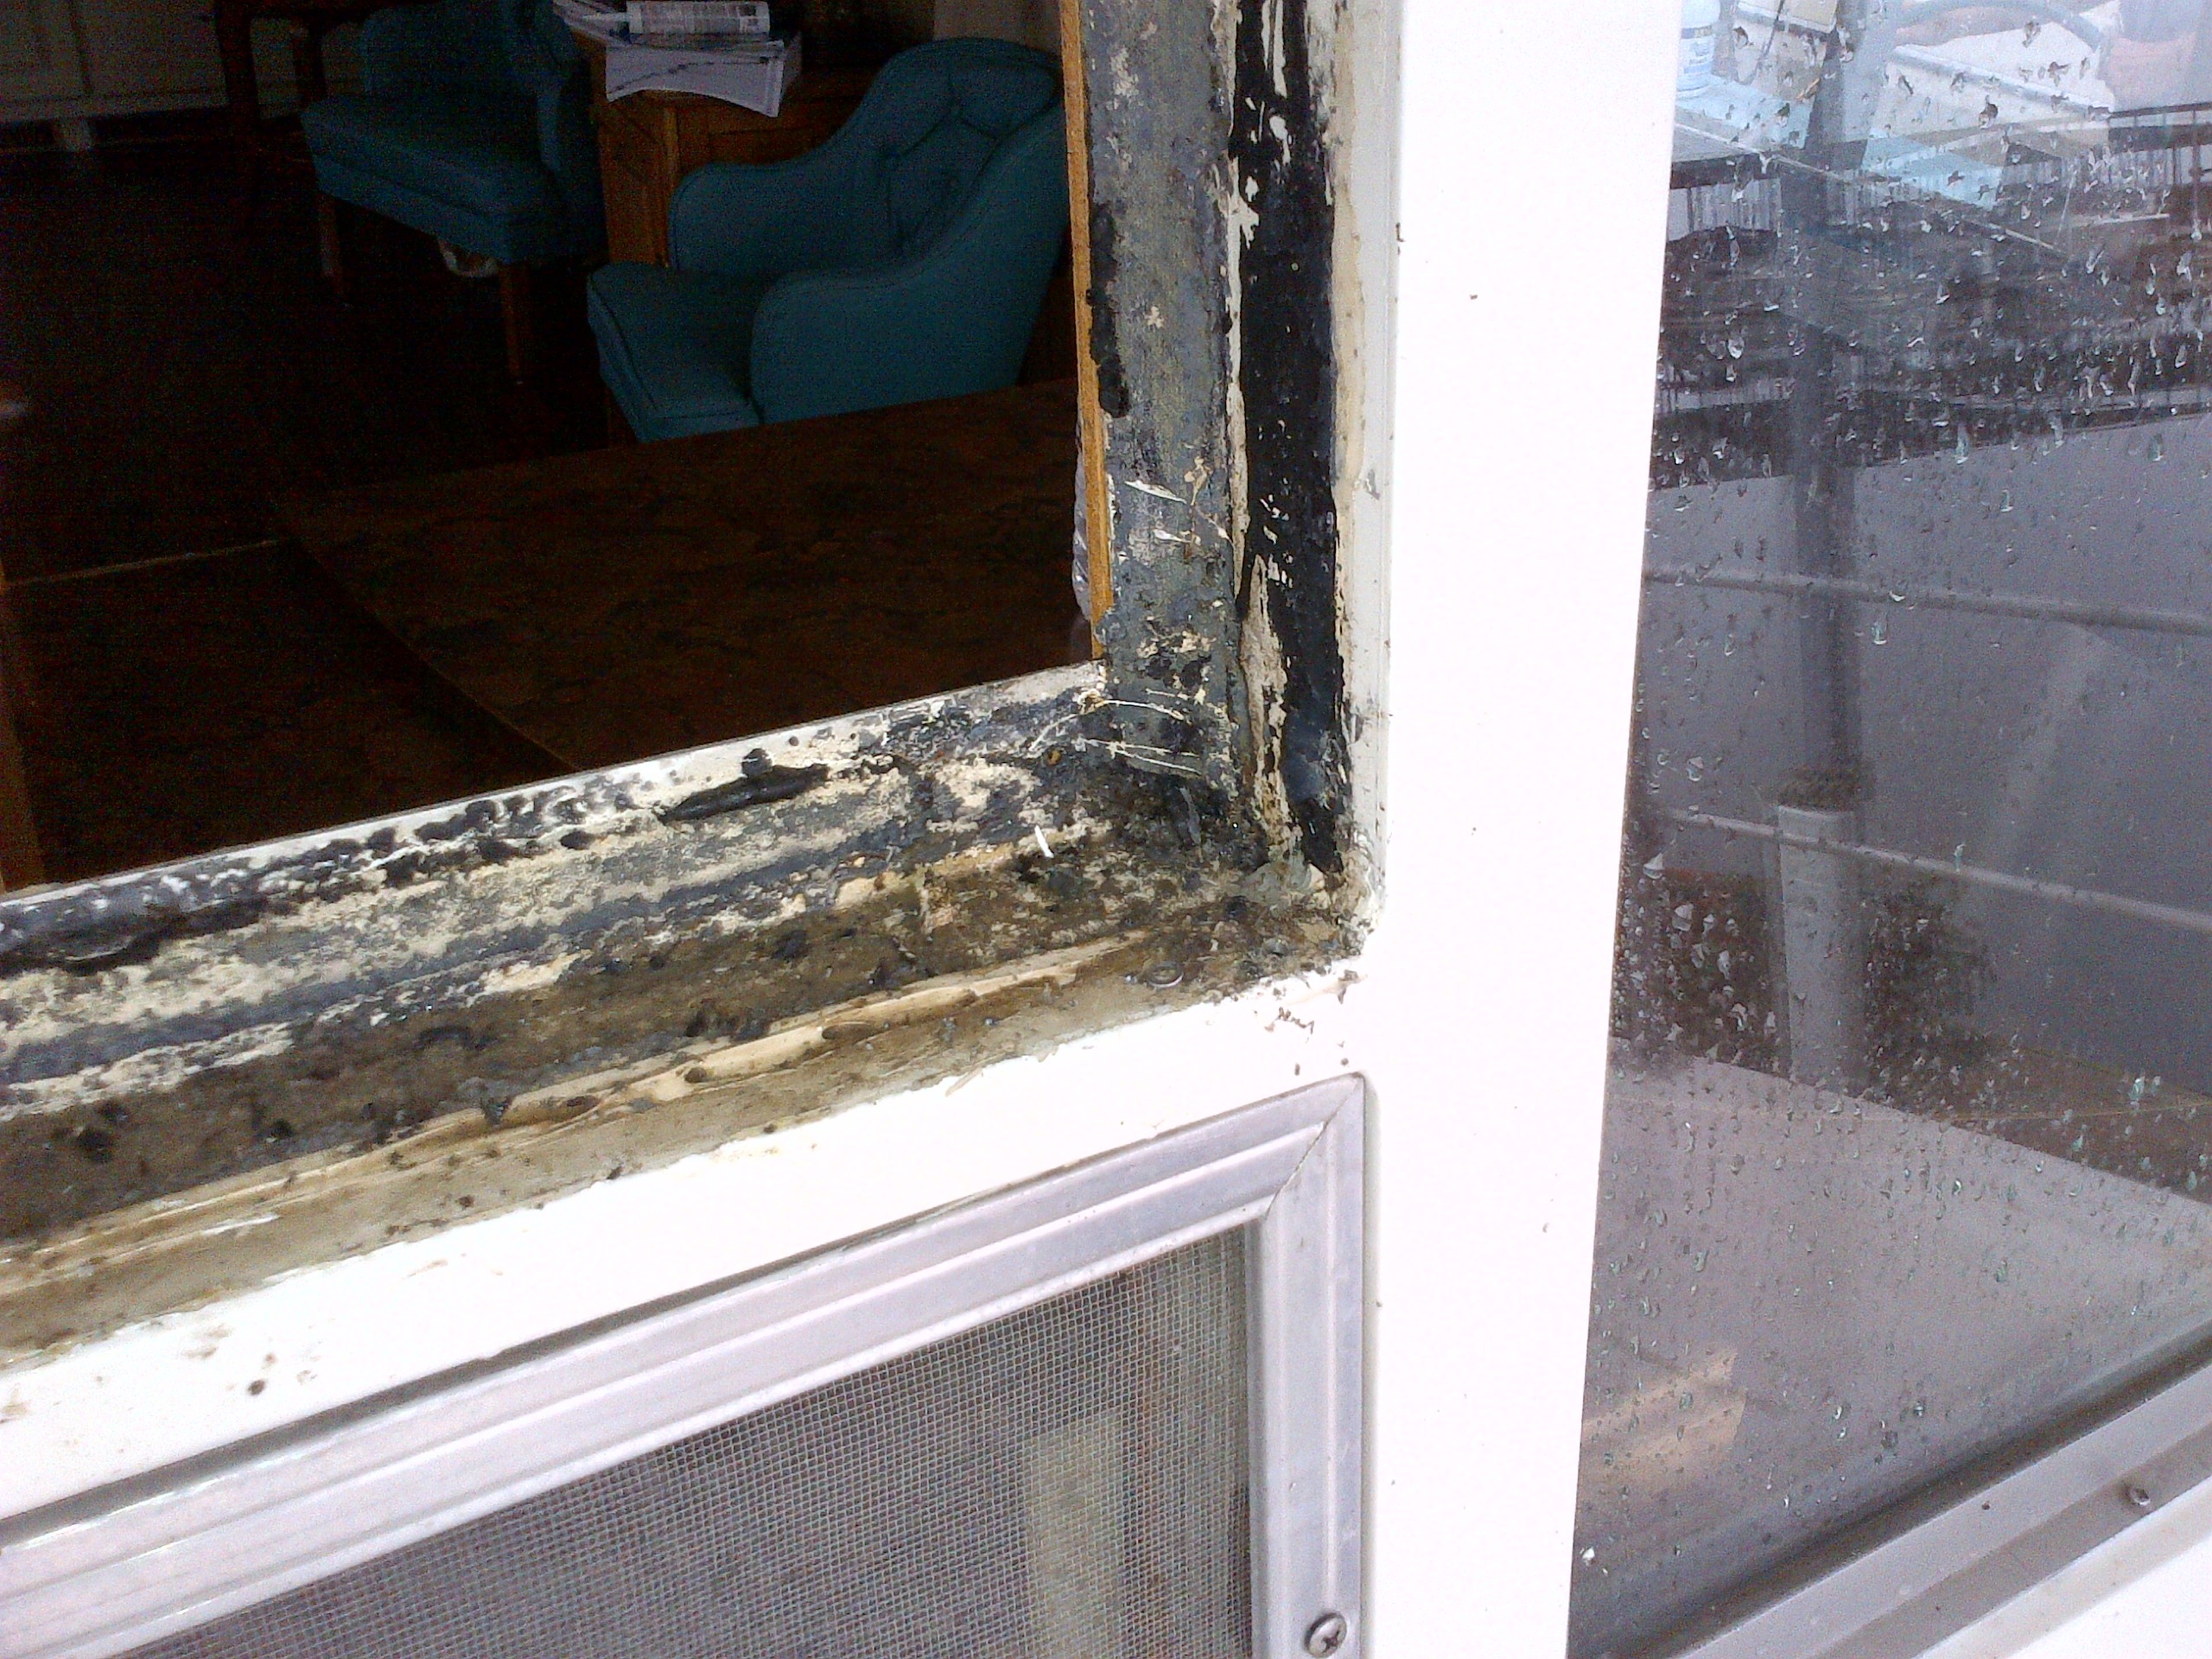
We shut off the power before we opened up the electrical panel to see about routing the cable through that area. We also removed a cabinet to give us access to the remaining pathway.
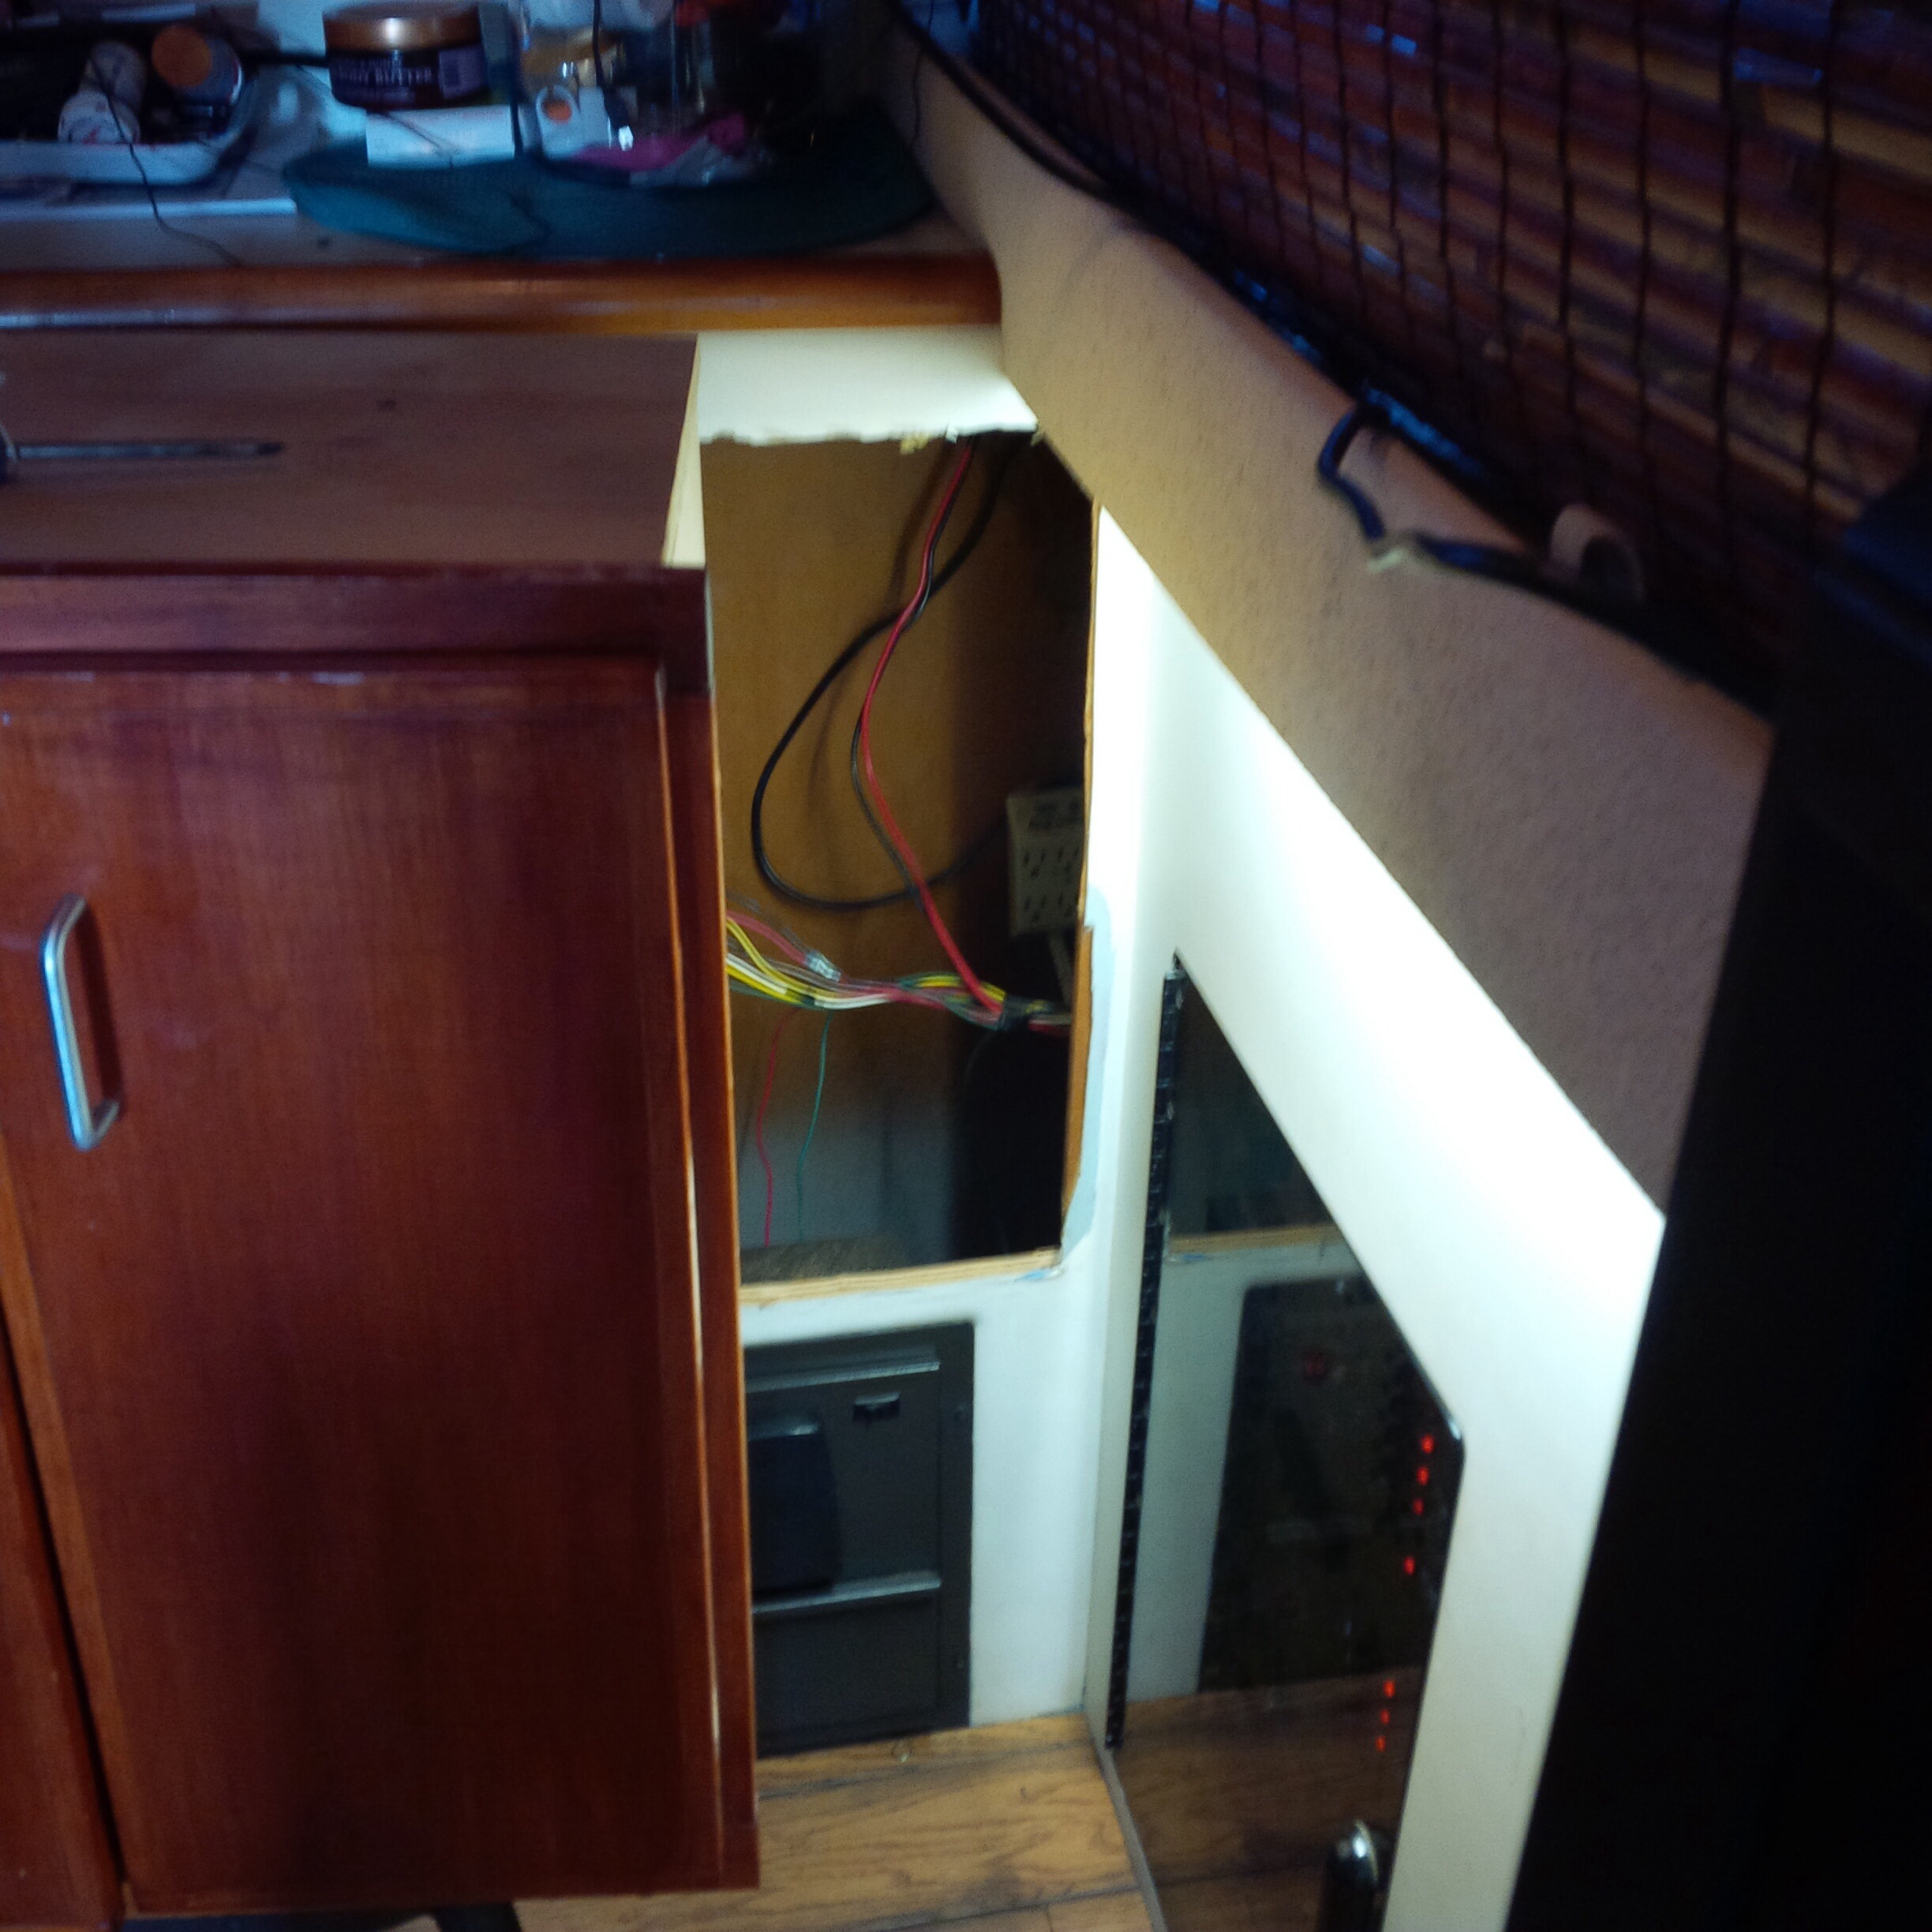
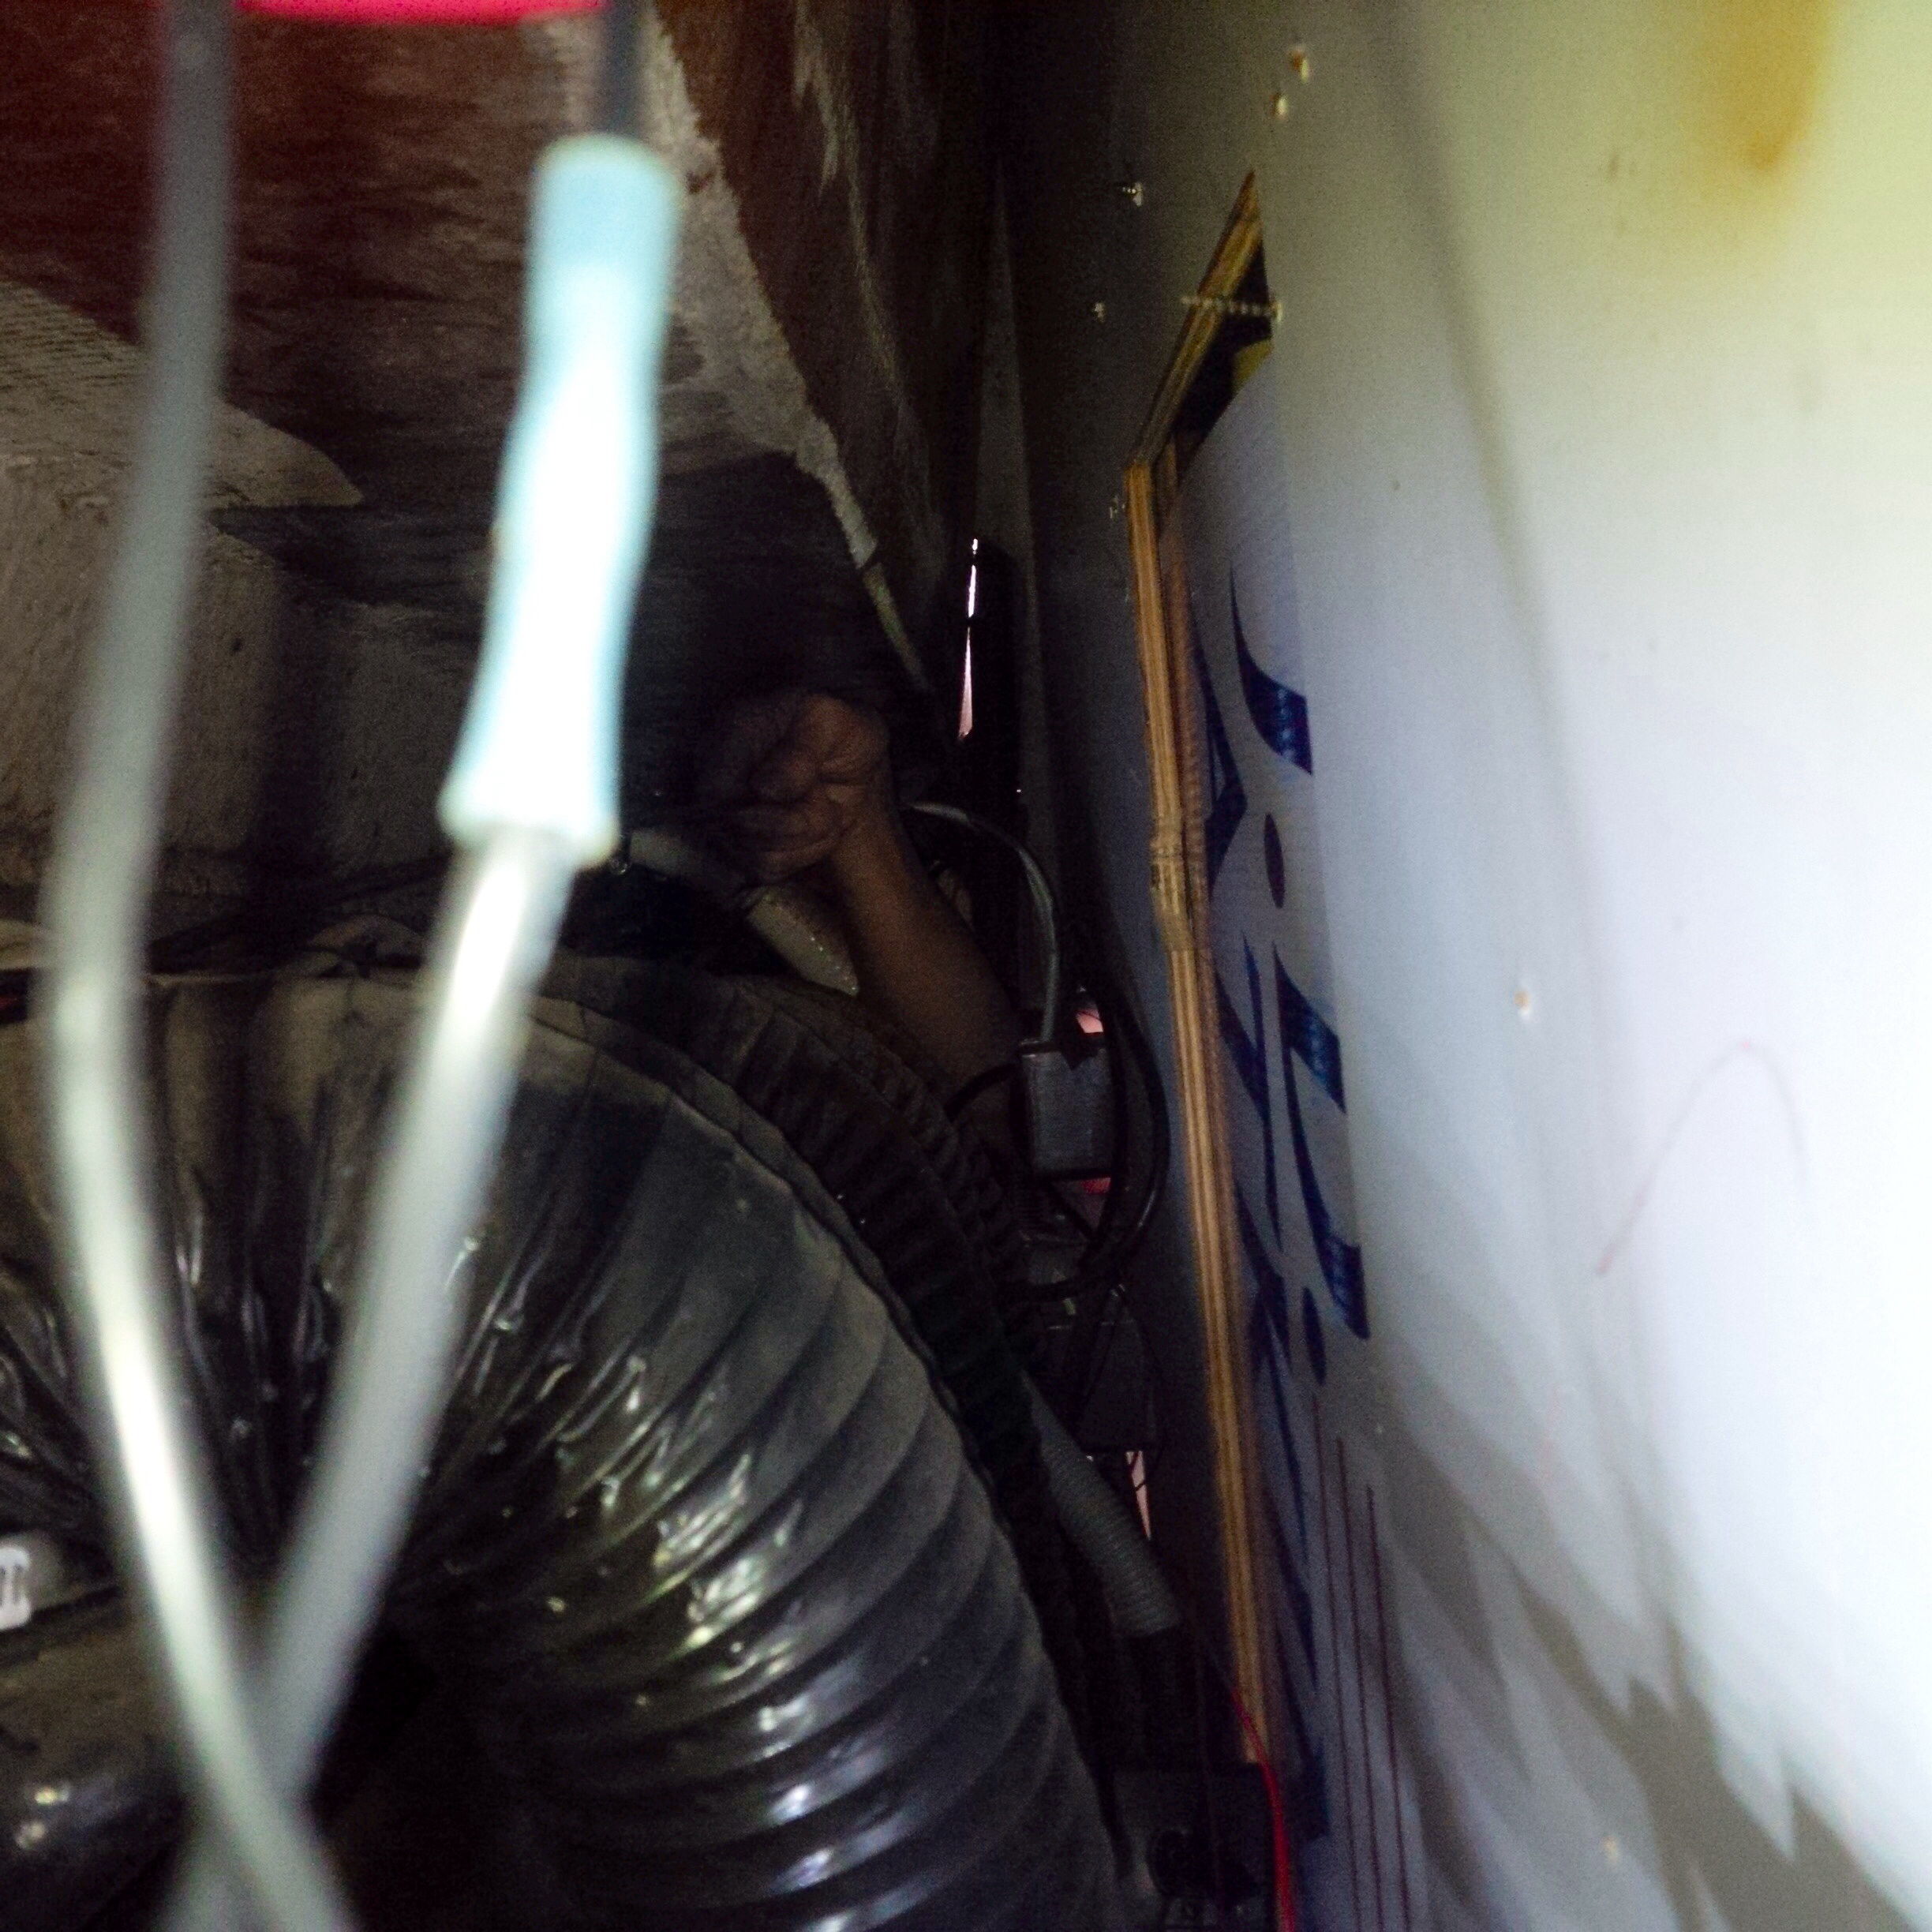
Looking down into the wall cavity you can see how difficult it would be to push a floppy cable through. You can barely see LuLu’s hand way off in the dark distance.
After a couple of tries at pushing the cable through LuLu commented that “We need a long stiff wire or something that we can snake though this maze.” “It’s interesting that you say that LuLu because they make such a thing. It is called a fish tape? Really? Do you have one?” Now I’m the one pouting. “No I don’t LuLu but you’re right, we sure could use one about now.” “Hey” she said, “Do you think the man next door might have one?” “I doubt it but it wouldn’t hurt to ask.” LuLu being shy like she is hops up to see and what do you know? Here he comes down the dock. “Have you got one of those fish thingies” she asks. “You know, one of those long skinny stiff wire thingies.” “Do you mean a sink drain snake?” He asks. “I have one of those that might work”. She looks back at me and I nod in the affirmative, smiling. “Has LuLu ever met a stranger?”
Well it did suffice and in no time we had that wire pulled through the maze and routed up through the next section.
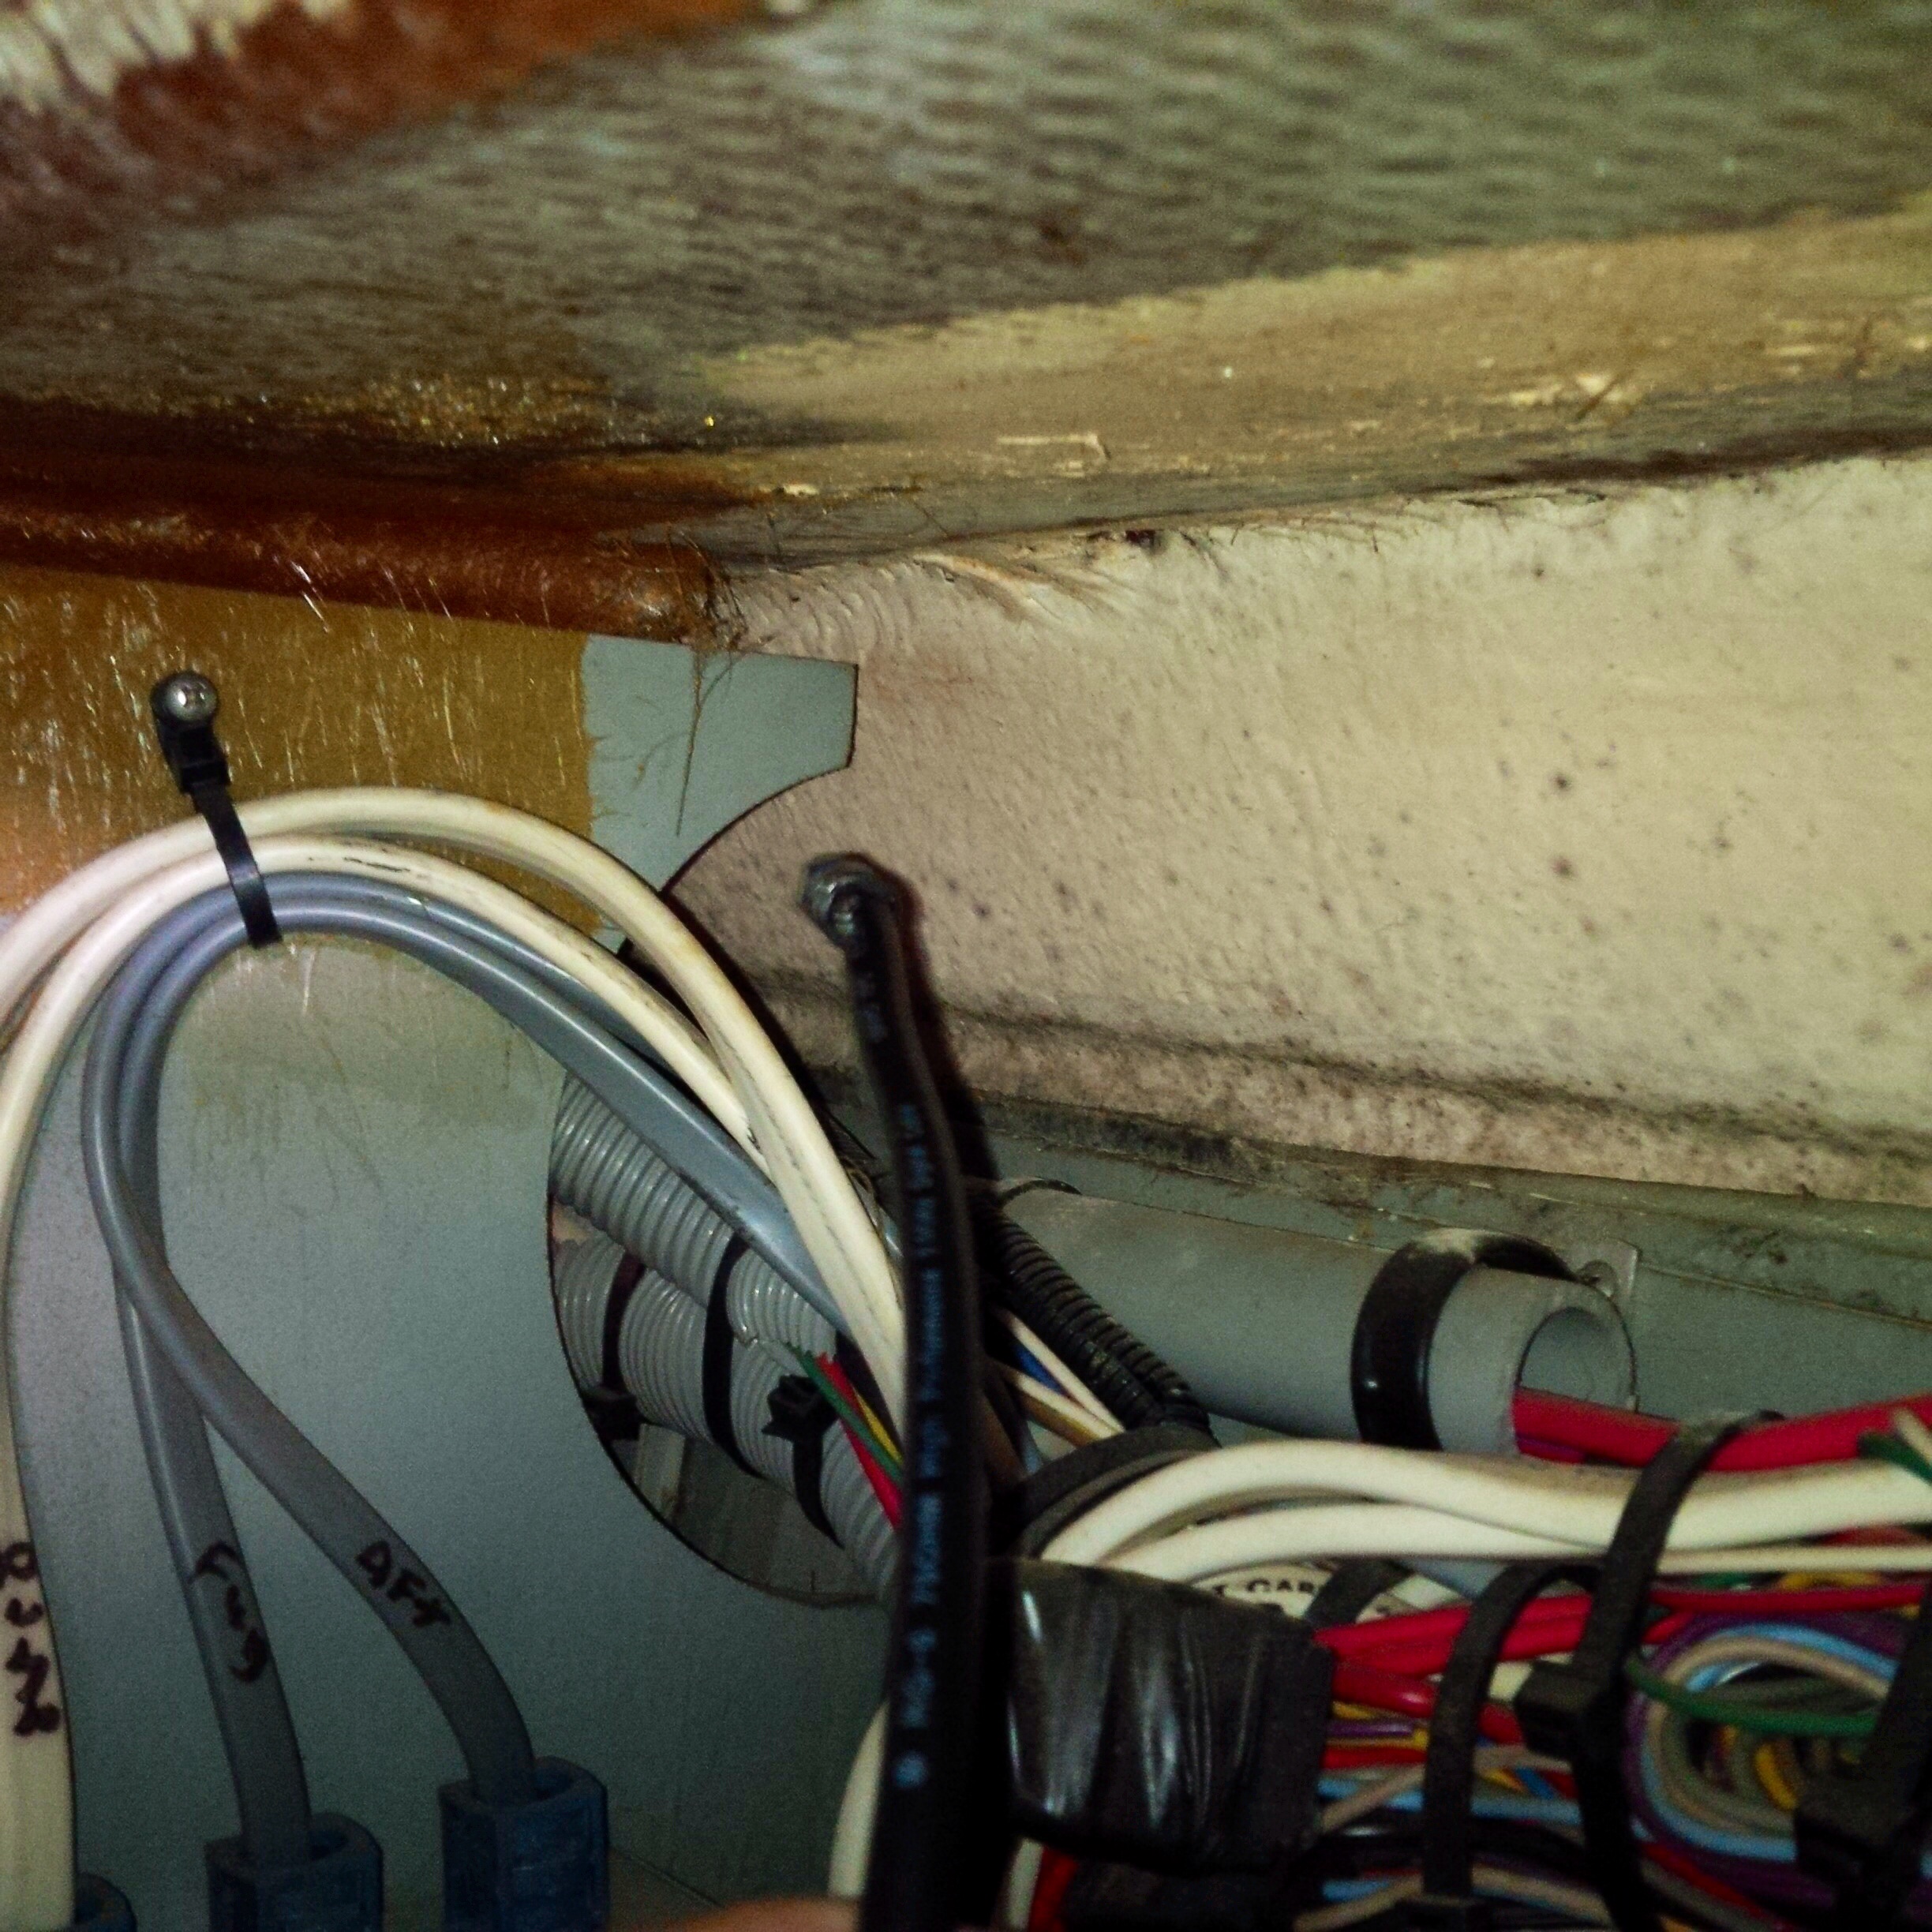
And then up through the top of the cabinet. SUCCESS. No more pout on this face.
Success
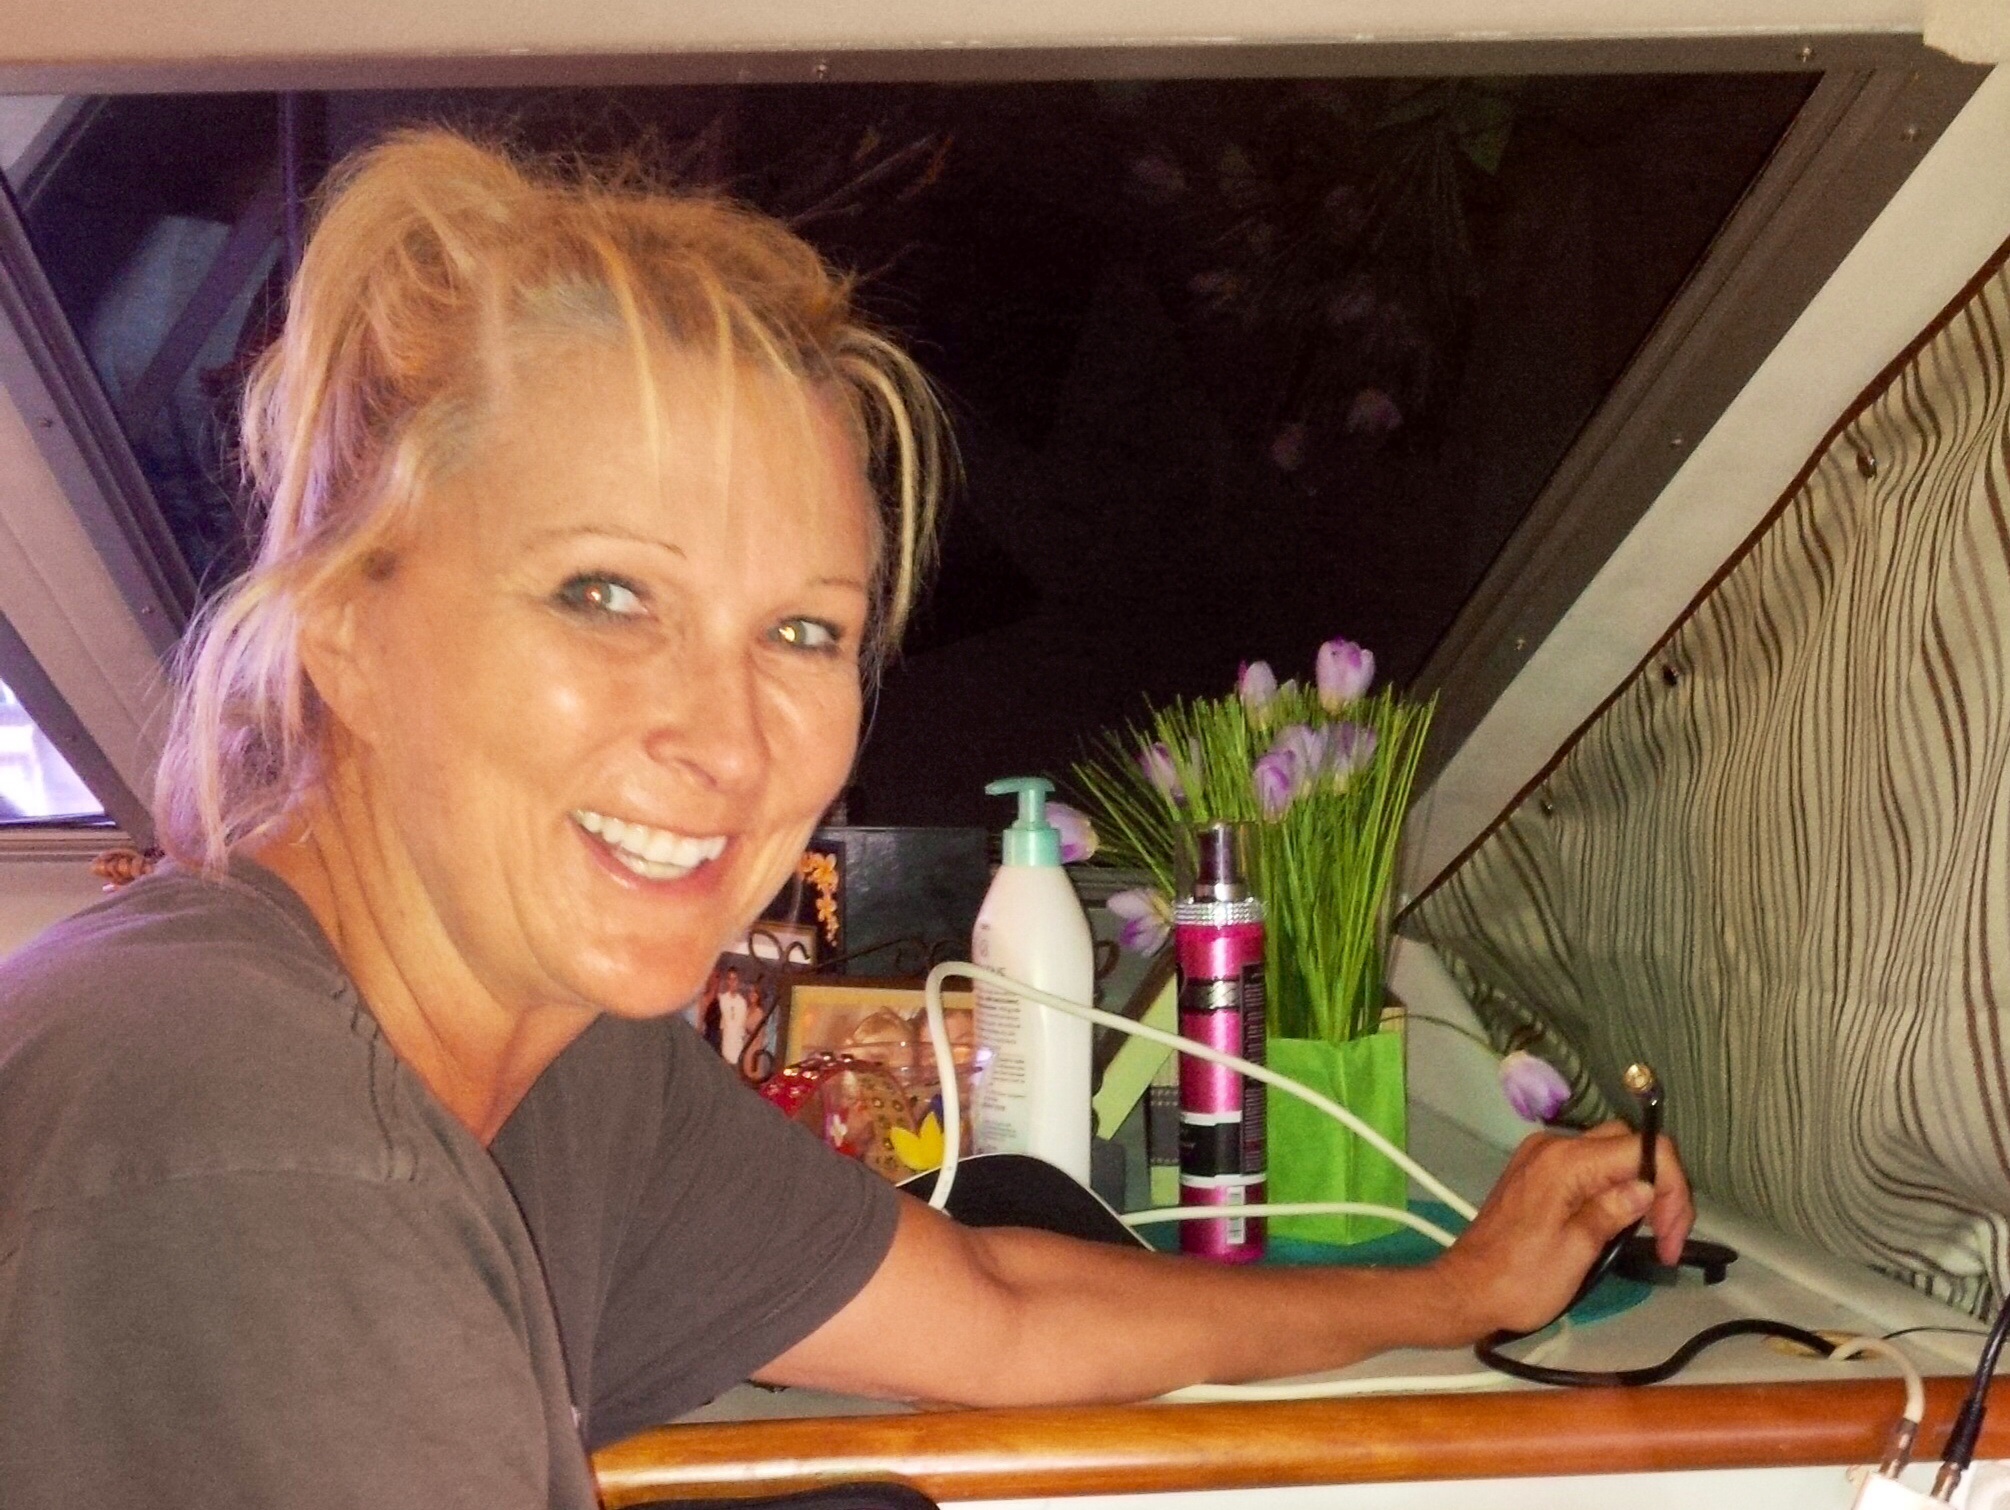
Even Molly was happy. “It’s time to go play”

“Yeah!!! Our work is done and I get to go kayaking with LuLu”
Well another Boating Lessons Learned. I gotta get myself one of these “Fishy Thingies”.
The content herein has a single theme: Mistakes …. or as I call them “Boating Lessons Learned”. While there may be elements of this site that appear to be advice about how to do some task you can be assured that it is not a complete and accurate “how to”. I am partially describing how I did something and what I learned. Do not rely on this information because Mcmanusboatworks.com makes no representations as to accuracy, completeness, correctness, suitability, or validity of any information on this site and is not liable for any errors, omissions, or delays in this information or any losses, injuries, or damages arising from its display or use. All information is provided on an as-is basis.